
Вот еще интересный опыт по установке ксенона от американских друзей, скопировано с ScionLife
my plan is to paint the black part of the headlight silver, it won't match the silver on the car, but it'll be different from other tc. also thinking of wiring a row of leds in the eyebrow area but not sure if i'm going to tie them to parking or turn signals yet. if i wire them to the turn signals then i'll have to do something about the stock signal light as it'll look funny both blinking. also going to wire a of CCFL halo ring on each side as angel/demon eyes, those will be wired to parking.
i also want to do something to light up the high beam area like the mercedes running lights or city lights. probably use LEDs for that.
Tools Needed:
Phillips Head screw driver
Dremel, or some other brand of rotary tool
Butane torch
Soldering Iron & solder
Wire stripper and crimper
Equipment Needed:
Oven
Parts Needed:
TSX projectors $200
HID ballasts $150
HID D2S bulbs $75
Bezel/Shrouds $5-100 (huge range, depending on what you want to use, its entirely optional since the TSX are fully enclosed)
CCFL halo rings $50 (optional)
spare headlights $282 (you may or may not need spares)
50 LEDs $20 (optional)
wires, relays, screws, bolts, nuts, misc - $50 (probably an inflated estimate)
The bare essentials needed are the projectors, ballasts, and bulbs. I got my set for around $330 shipped. You don't need to buy TSX projectors, you can buy german made Hella or Bosch projectors for around $150 sometimes, or you can buy S2000 projectors for $350 a pair. i feel the TSX is a great compromise in price/performance. And overall, the japanese projectors (all made by Stanley) outperform the german counterparts in beam spread and intensity. you should research the different kinds of projectors available and their prices on тынц
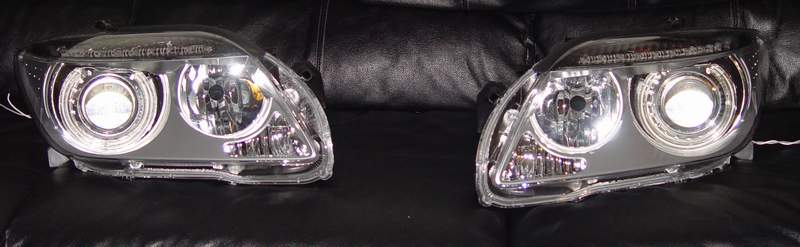
Output Comparison

stock 9006 sylvania that came with the car

stock unmodified TSX projector with 4100k Osram D2S bulb


modified TSX projector - #8 sized washers were used to create more color at the cutoff line. the basic concept is to increase the distance between the front projector lens and the bowl of the projector to create more color, but at the expense of blurring the cutoff line.
Baking:
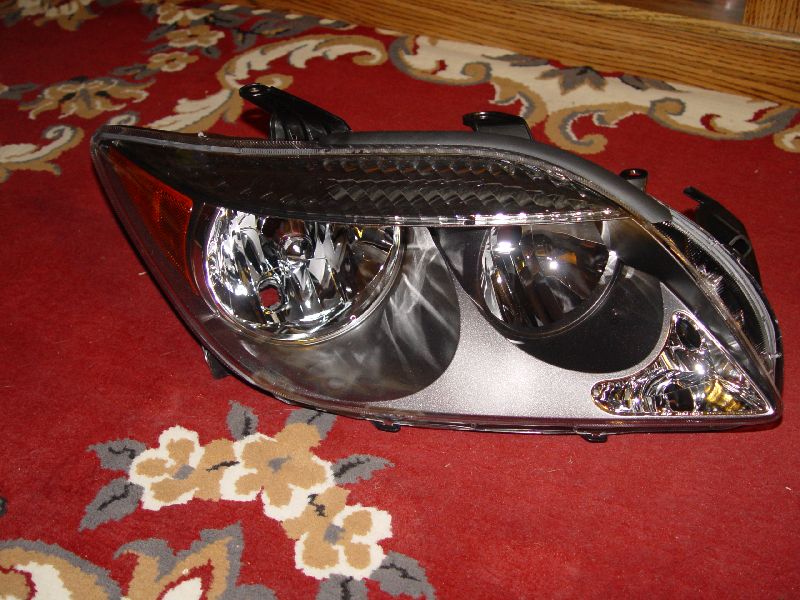
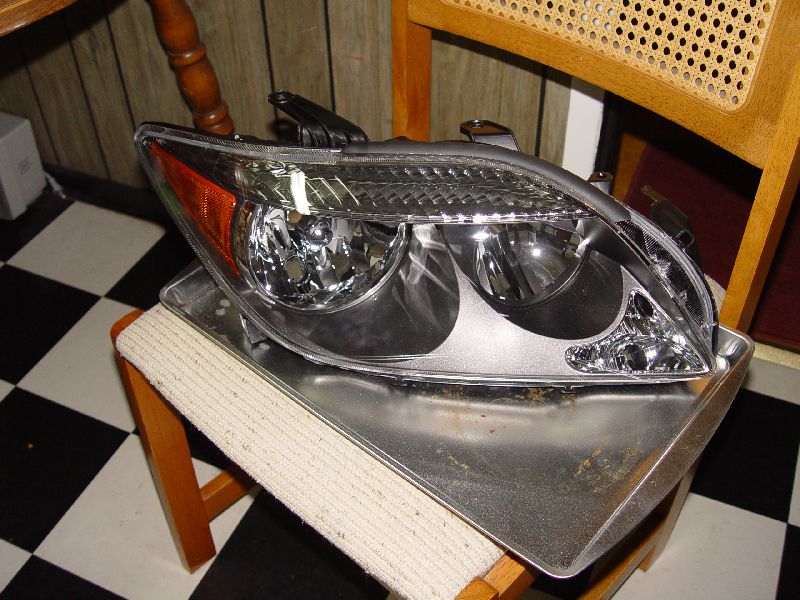
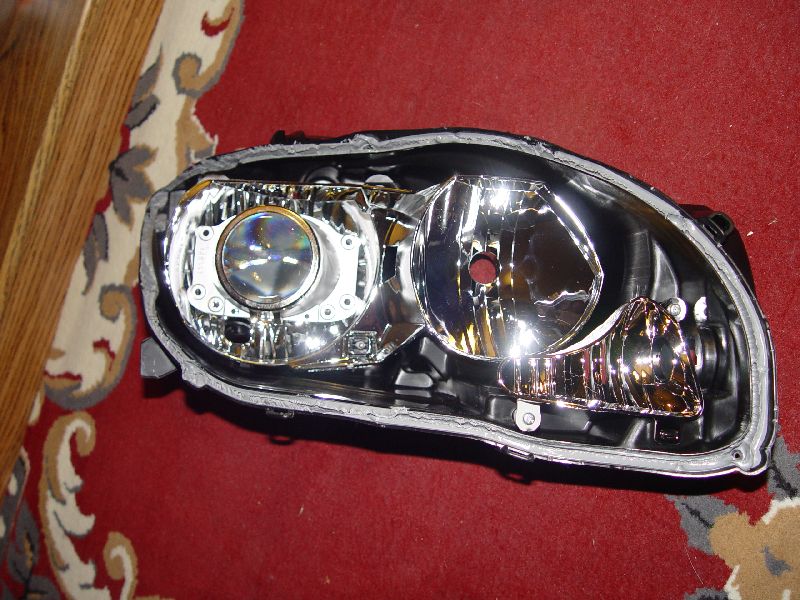
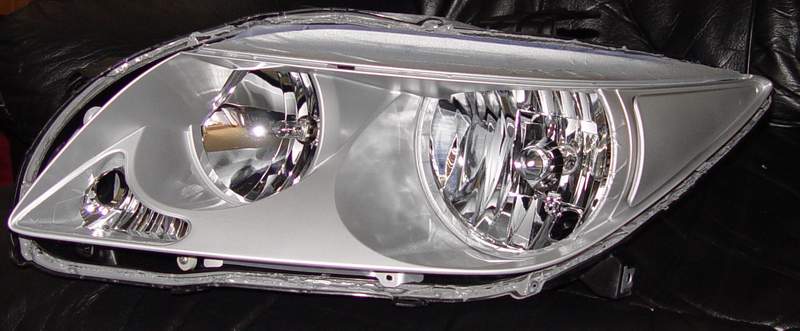
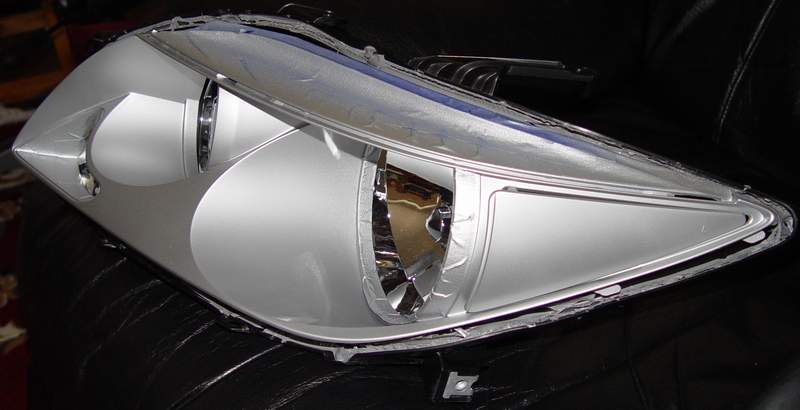
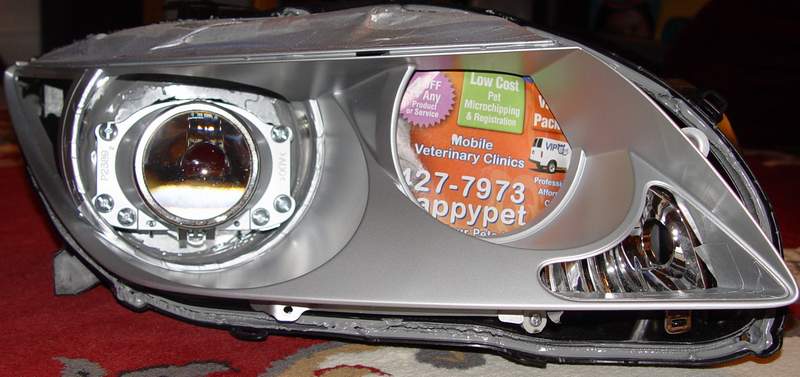
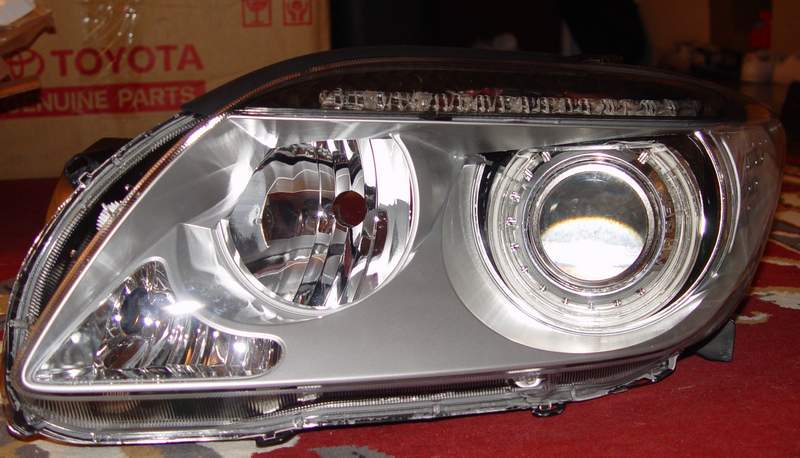
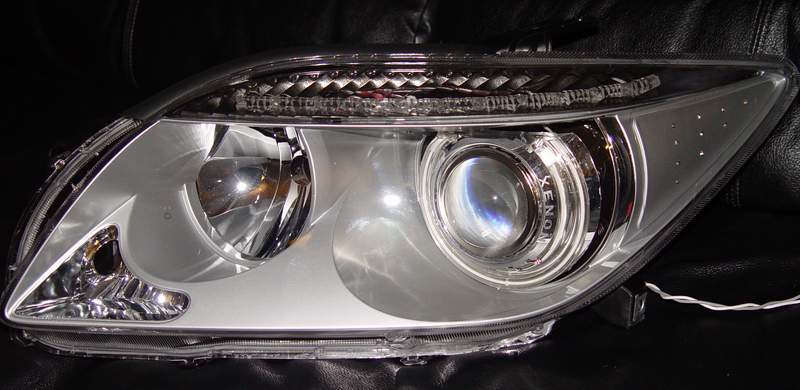
Here's one virgin headlight
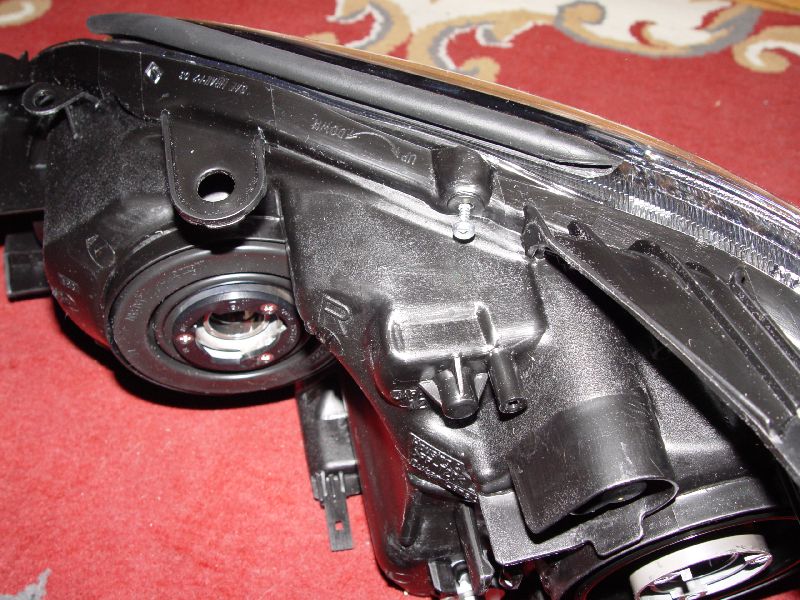
There are four (4) screw on the back of the housing, remove them.
Getting ready to bake headlight. I used 250F for about 15-20 minutes
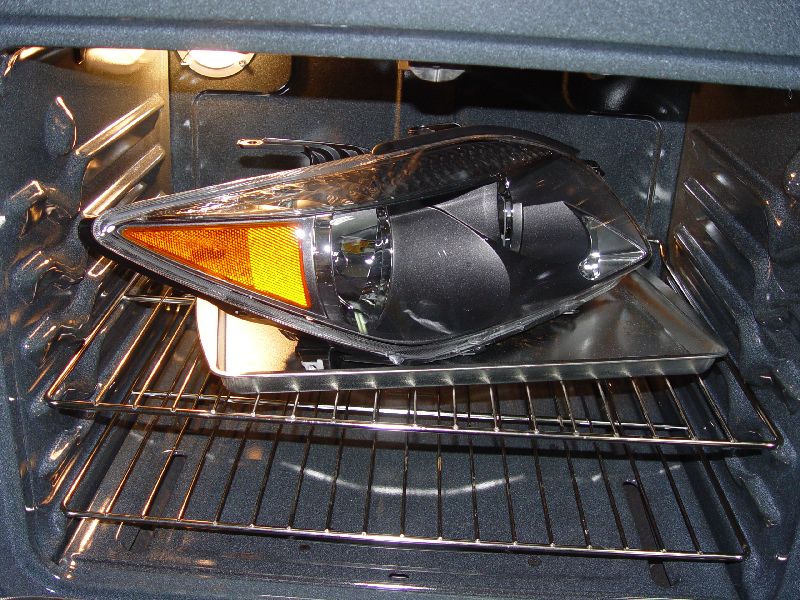
Headlight barely fits inside my oven
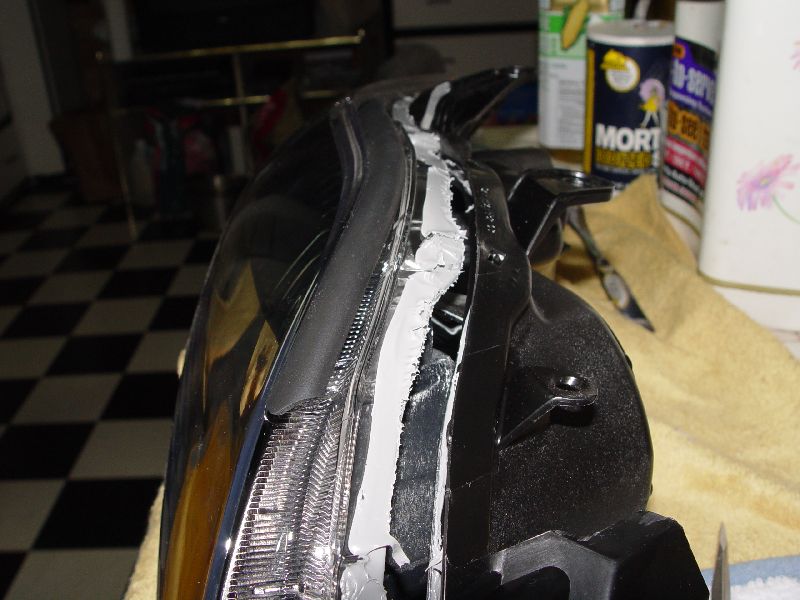
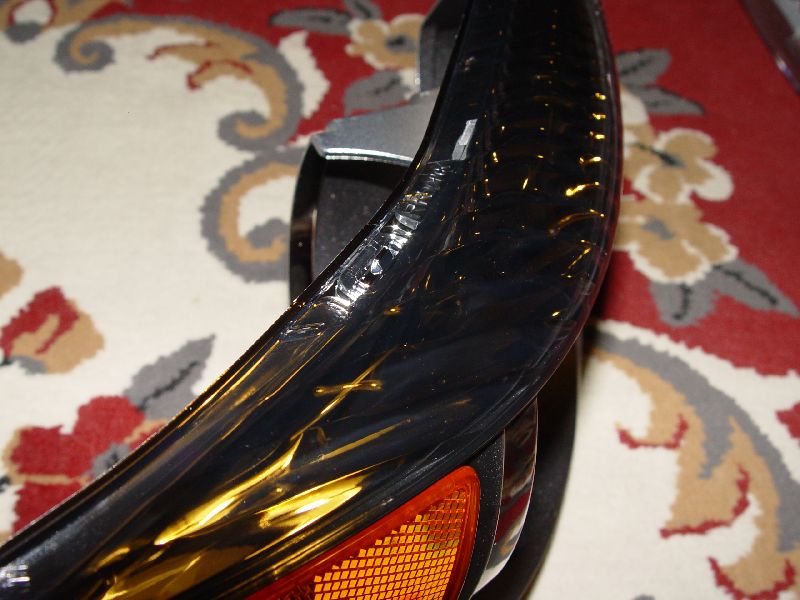
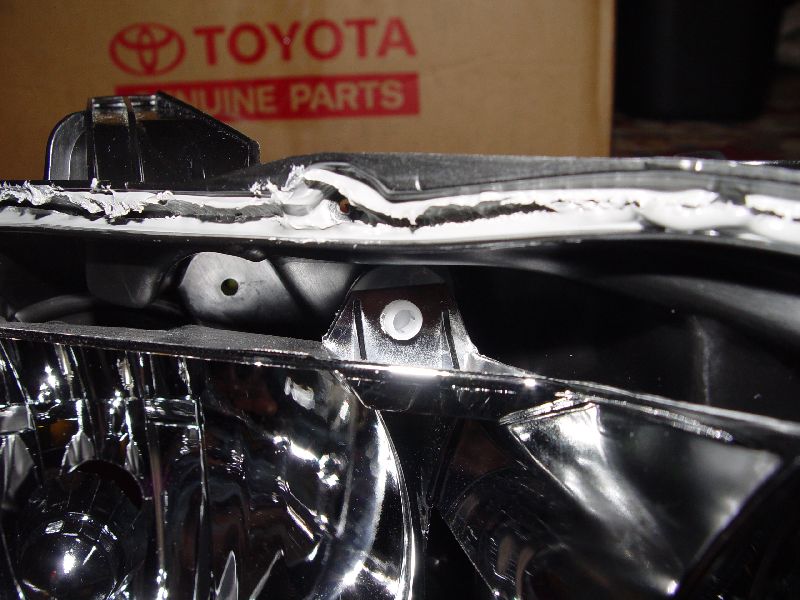
Slowly and carefully pry the front clear lens apart from the black housing. You'll hear crackling sounds, probably not for the faint of heart
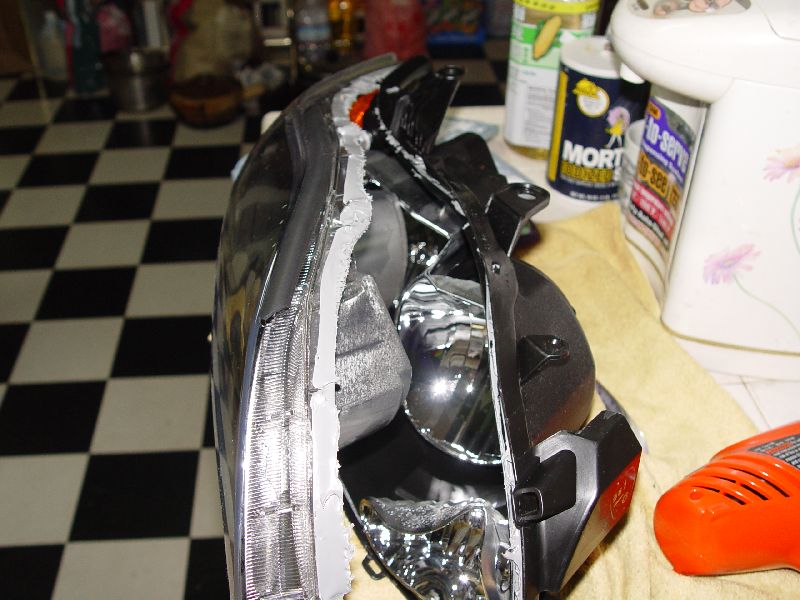
finally, The front lens came off
Preping/Test Fitting:
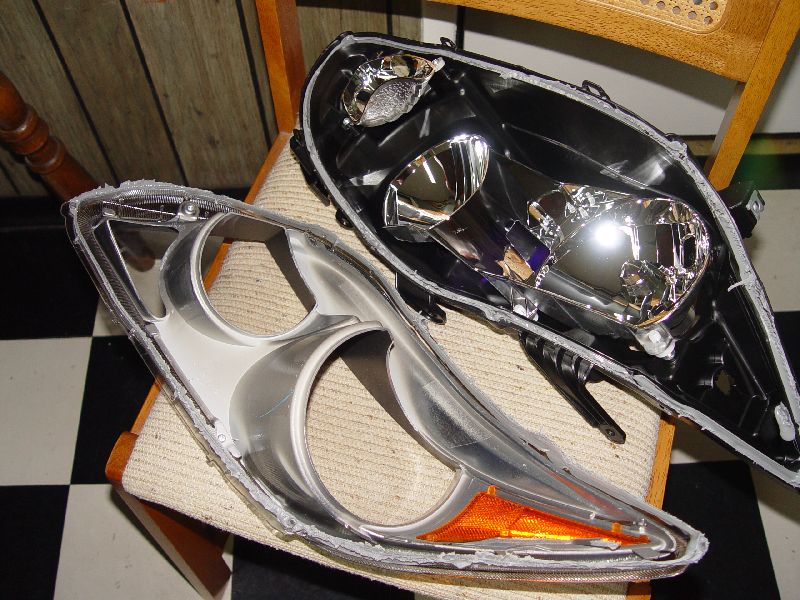
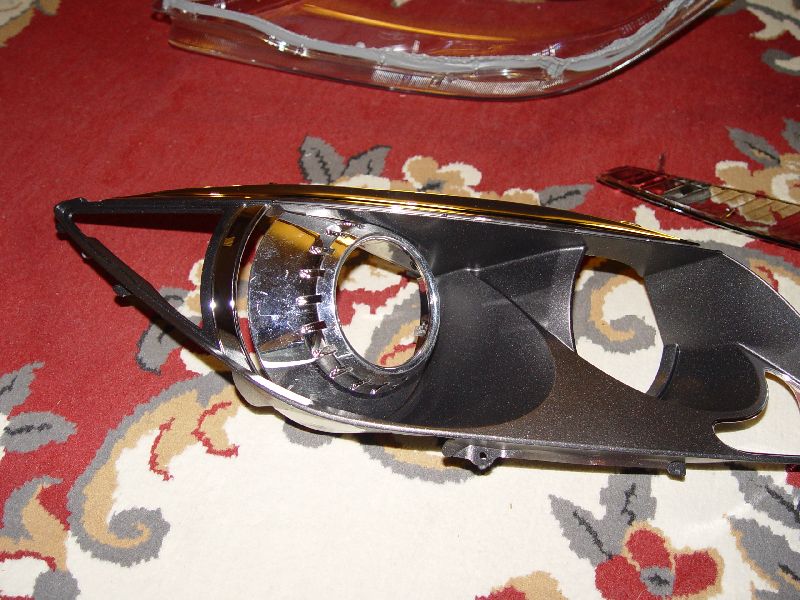
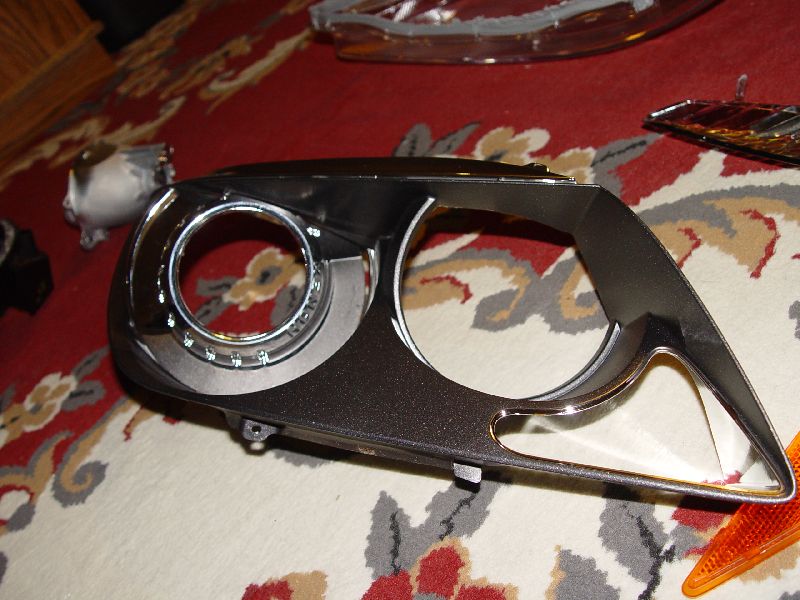
Took the black piece off
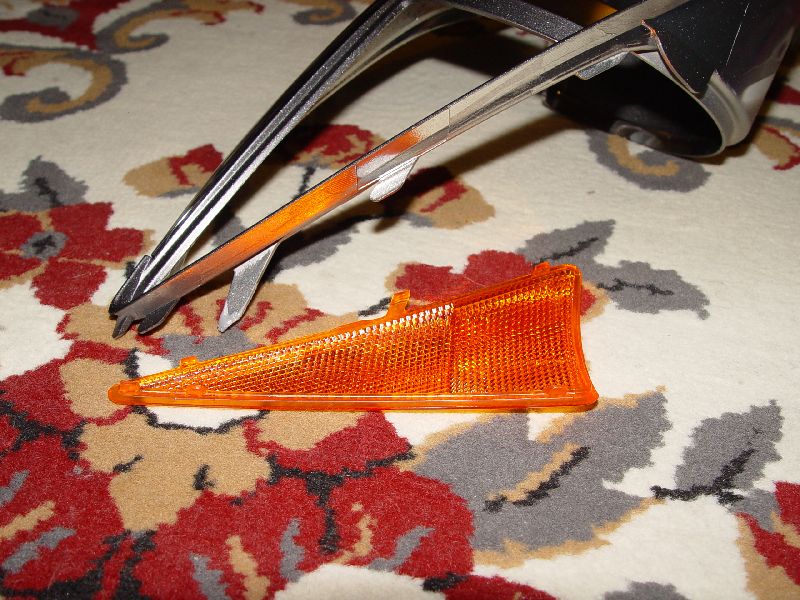
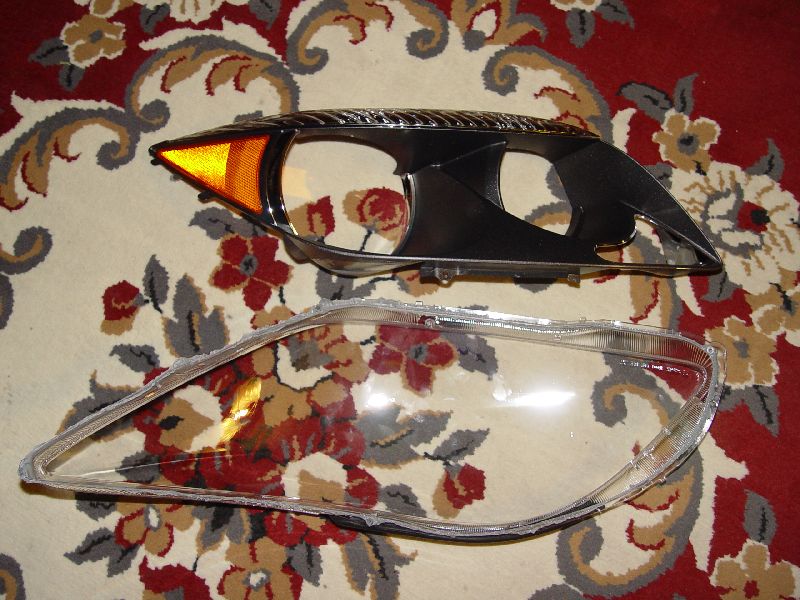
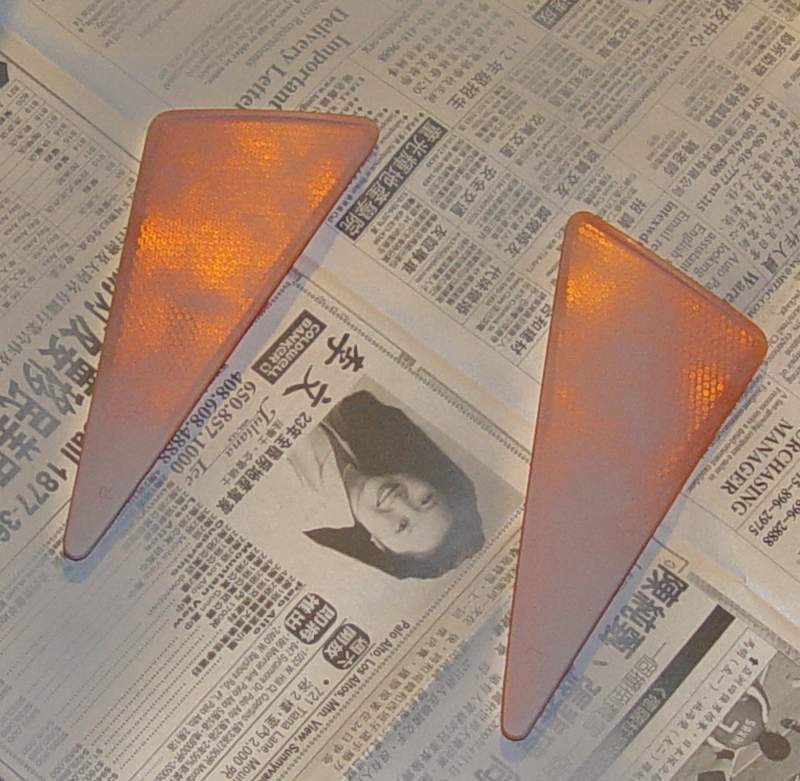
Orange reflector pops right out, i'll probably paint over it to get rid of the orange
Eyebrows held on by a few clips, Remove the eyebrow

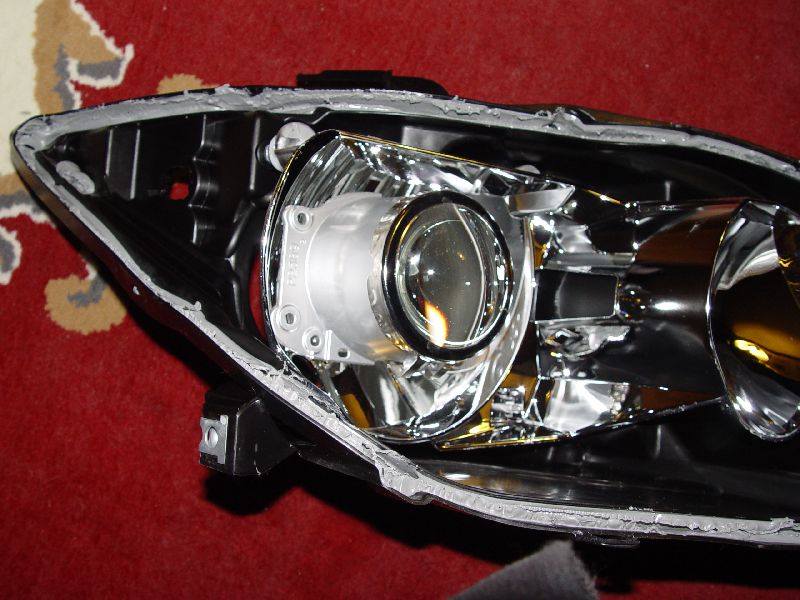
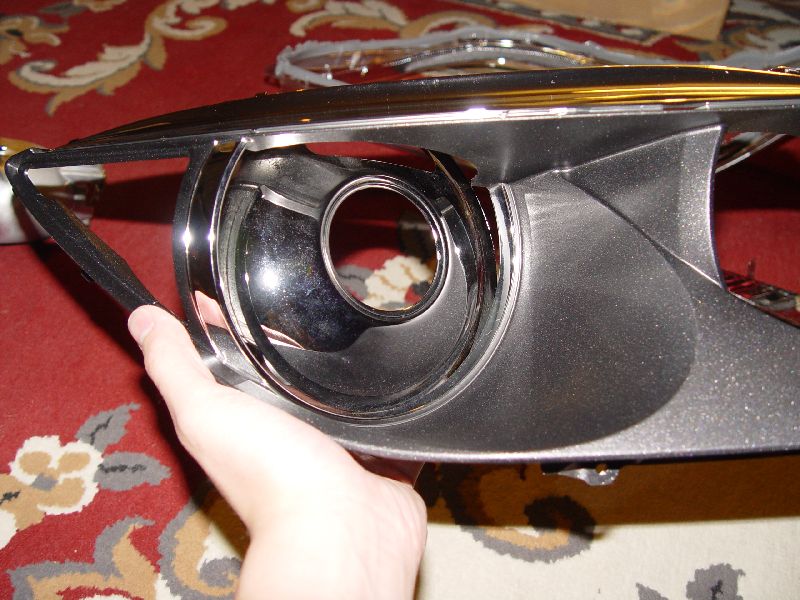
Test fitting the tsx projector
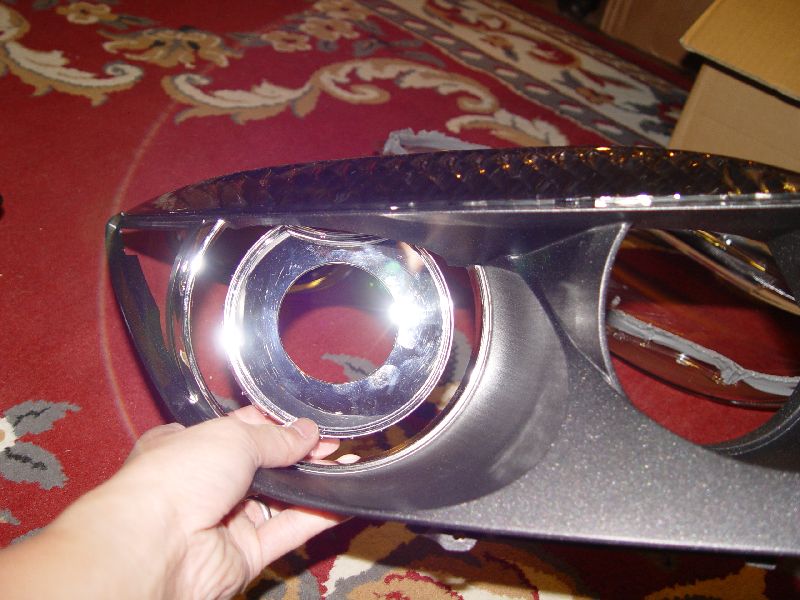
Test fitting some bezels, here's the E46 bi-xenon
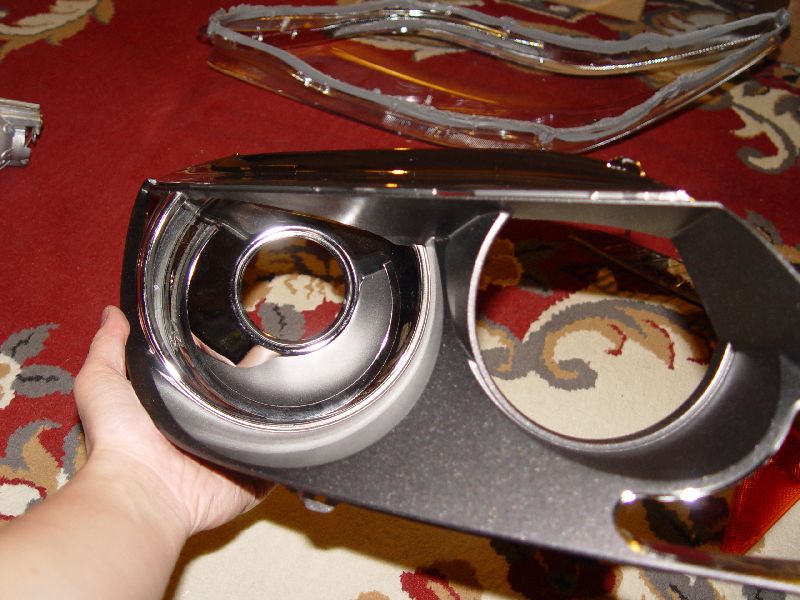
Range cover
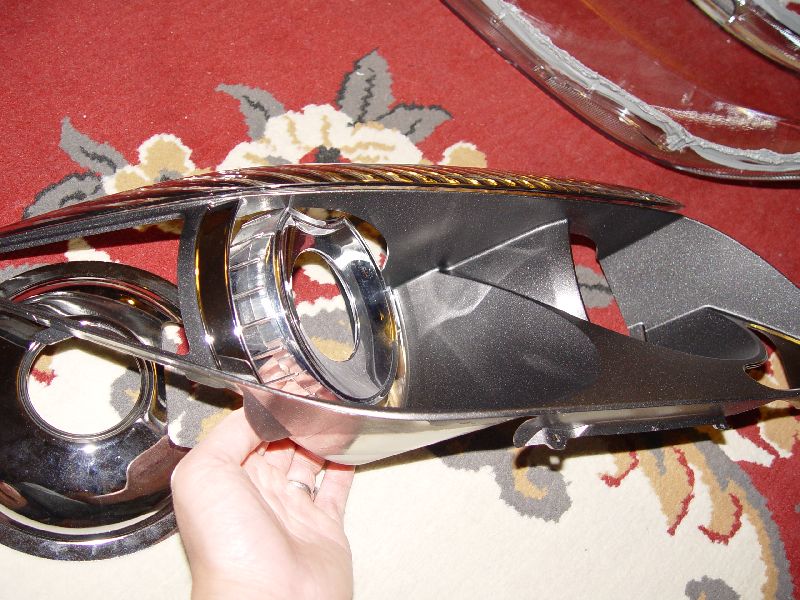
A4 bezels
Reflector removal
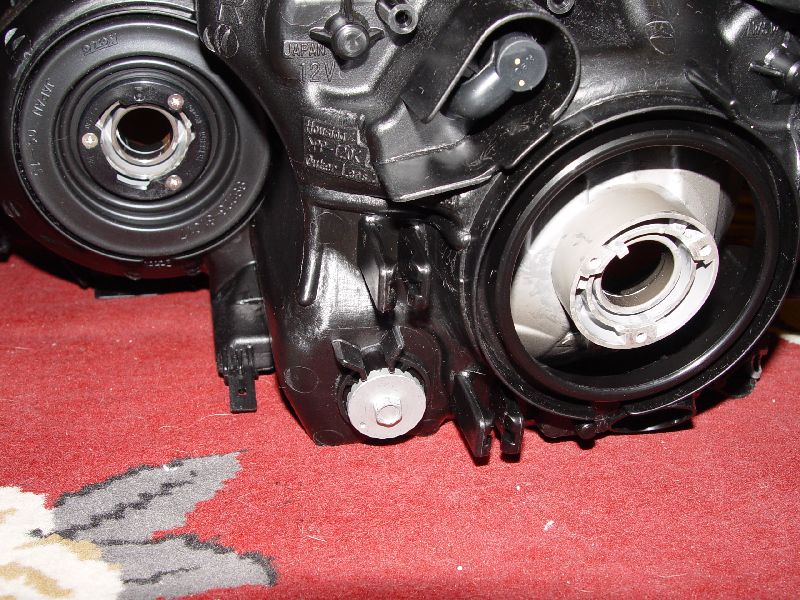
this 8mm bolt needs to be unscrewed all the way out.

these two clips need to come out as well, a needle nose plier comes in handy
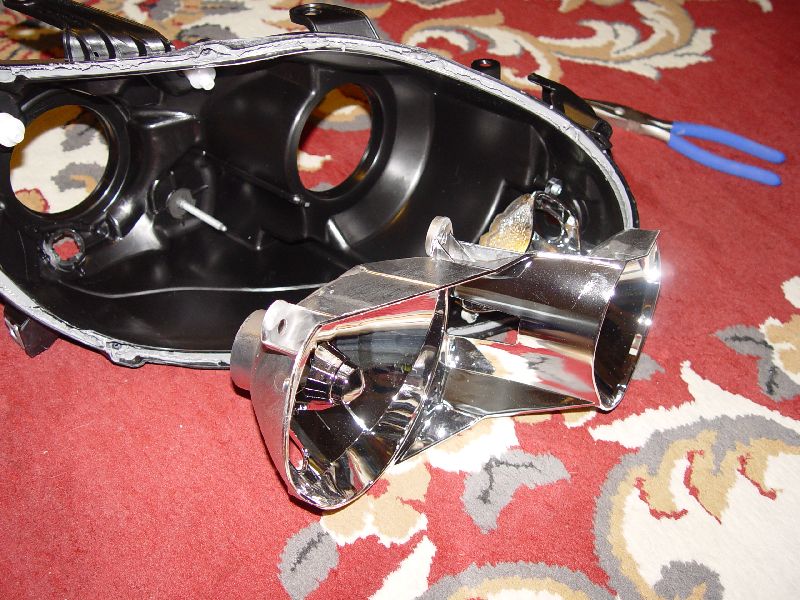
reflector removed from housing
Masking
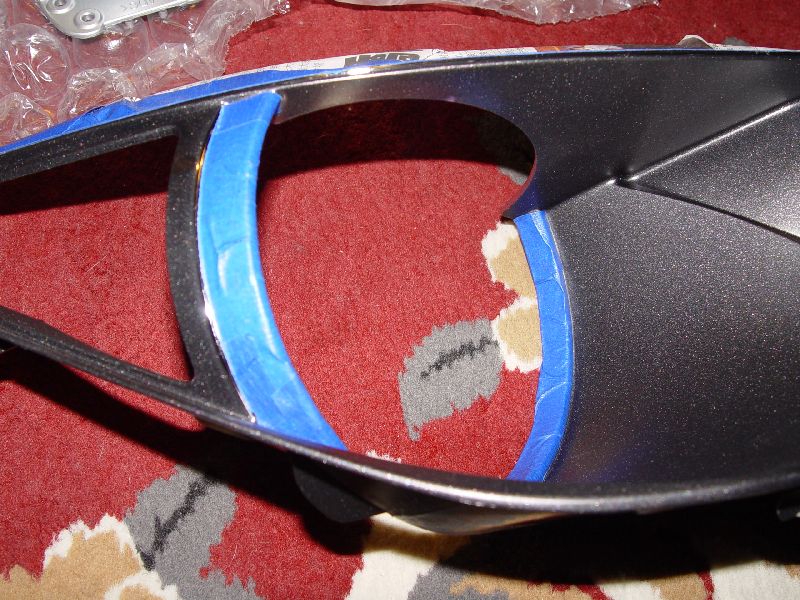
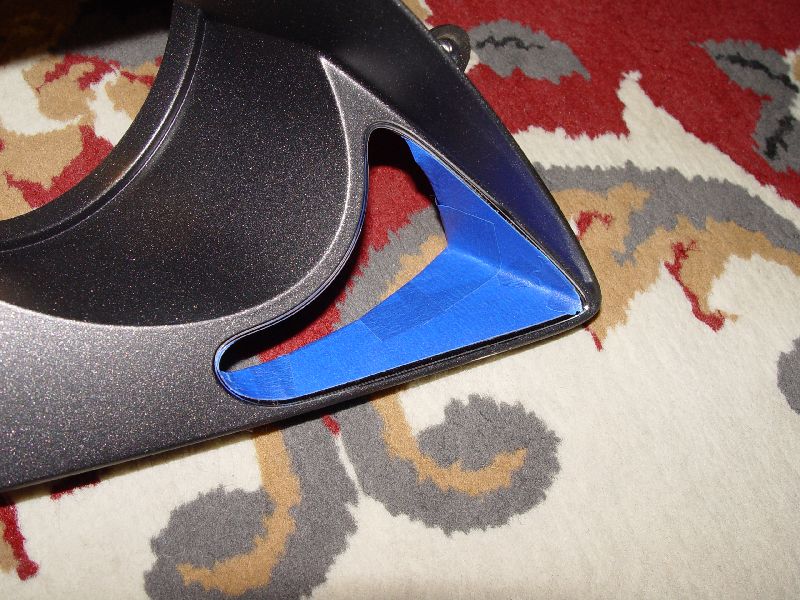
carefully mask off the chrome parts. i used blue painter's tape because its easier to peal off and won't harm the chrome
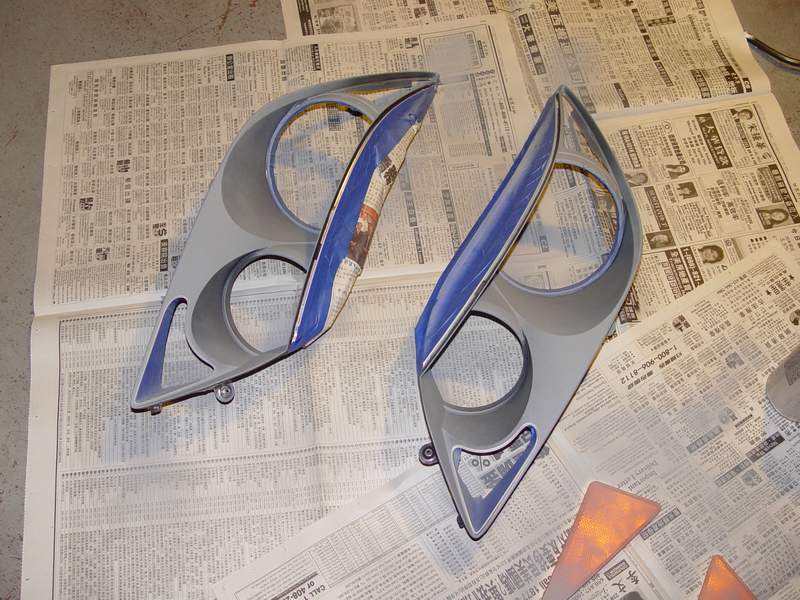
first coat of high heat primer
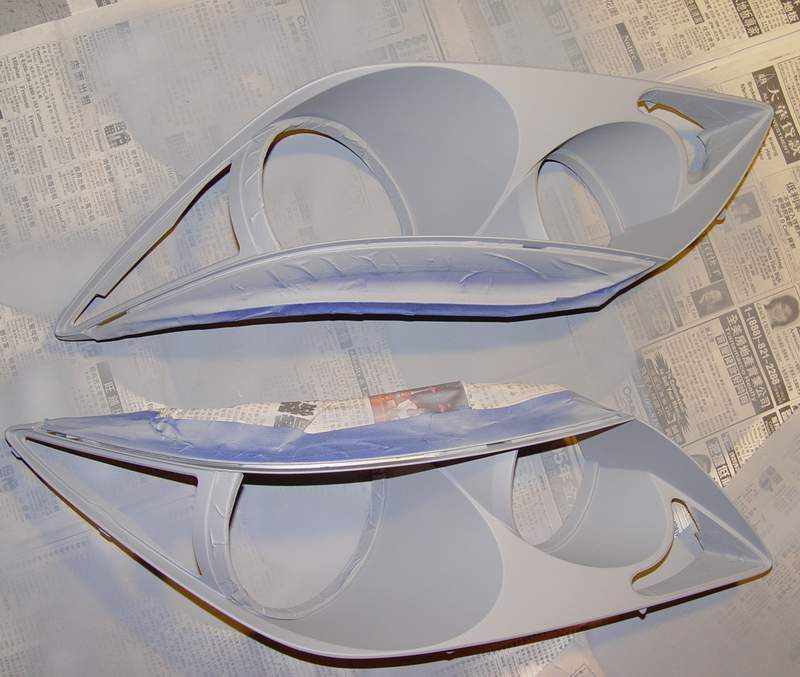
here they are after 3 coats and primer with wet sanding between each coat
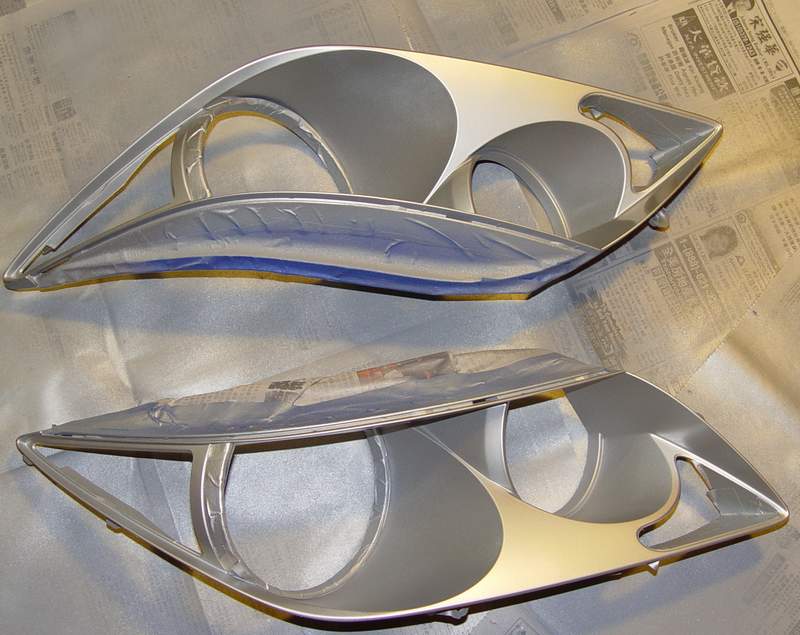
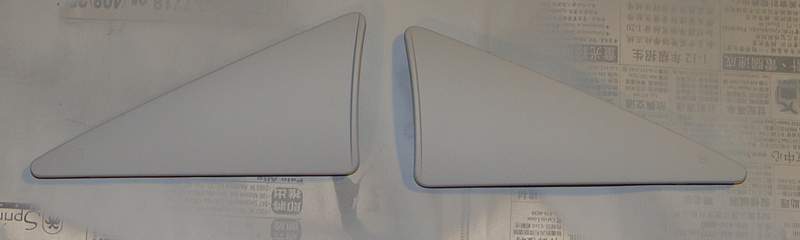
first coat of high heat aluminum.
here are some mock ups of the what it'll look like when finished.
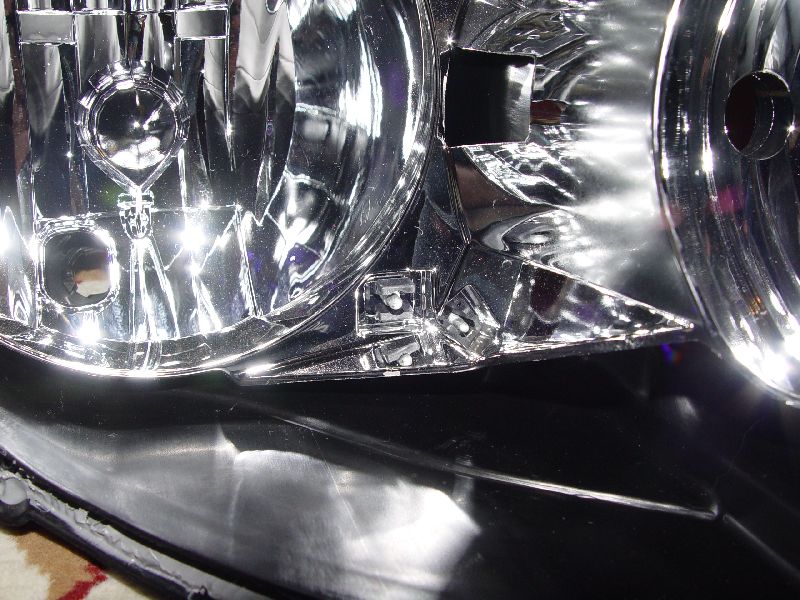
Cutting and Mounting
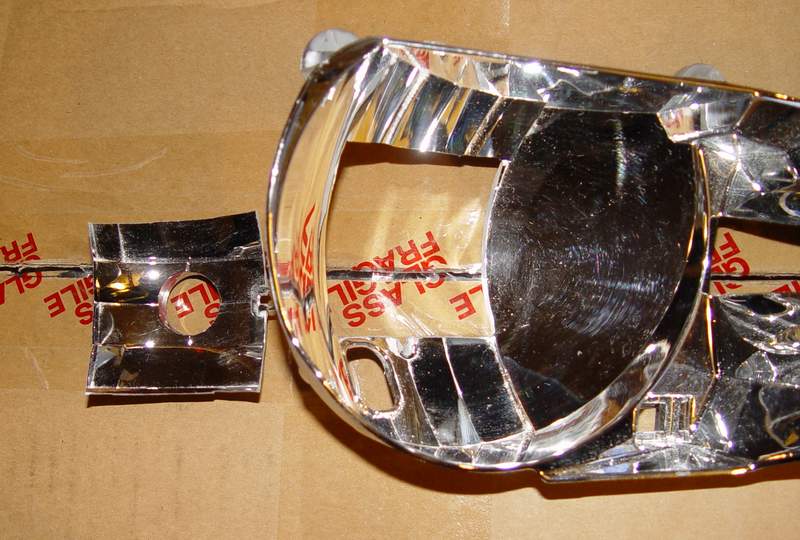
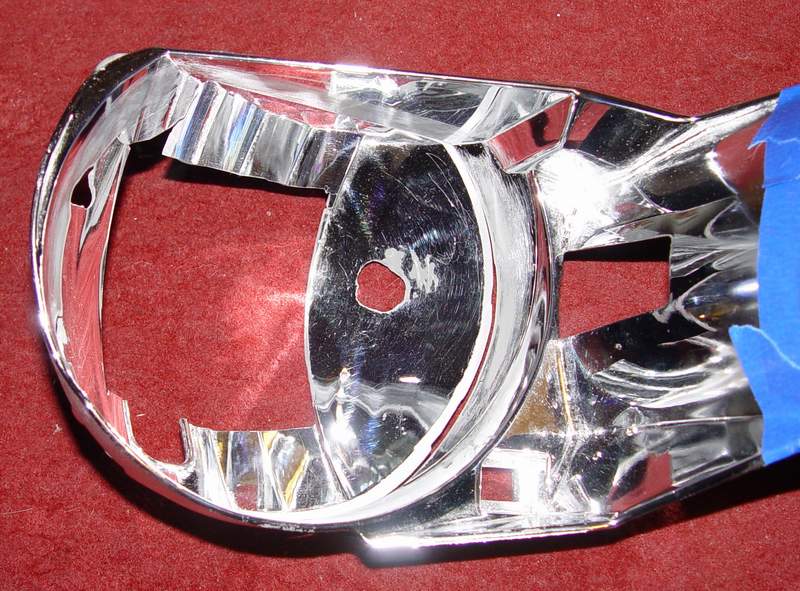
here are just a couple of pictures of the initial steps of mounting the projectors, i used a dremel to cut out the rectangular outline in the reflector. wear a mask and eye protection, you get a sh!tload of white dust when cutting the plastic chrome. you don't want to be breathing in that stuff. with this opening, it looks like i might be able to fit the projector in without the backside extening out much more than the stock setup. As all of you know, there's not much room behind right behind the headlights.
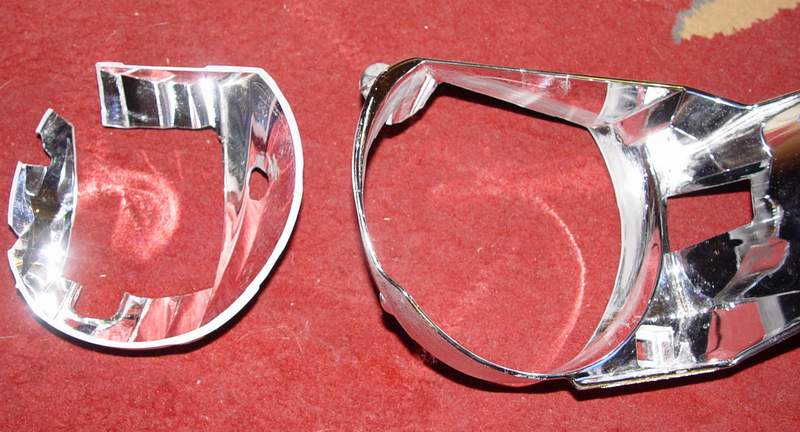
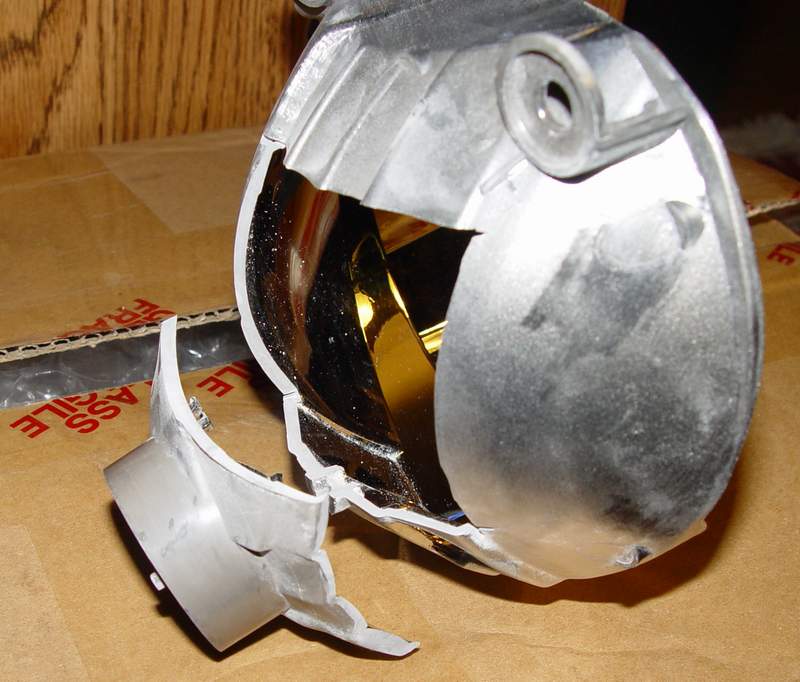
after a failed attempt at mounting onto the reflector bowl, i decided to cut out most of the back.
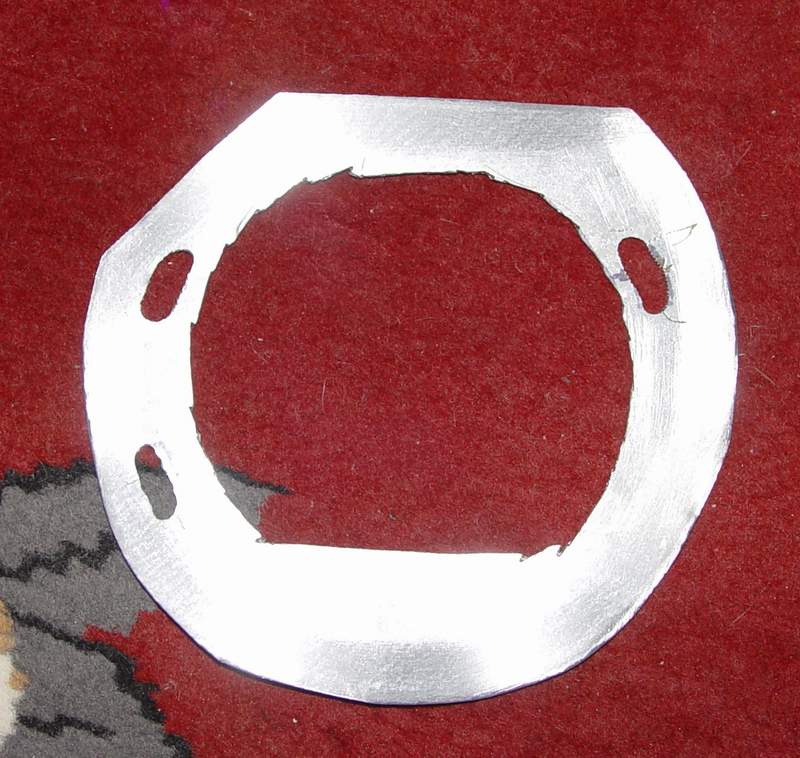
mounting bracket made from a piece of sheet metal

same bracket jb-welded to the reflector
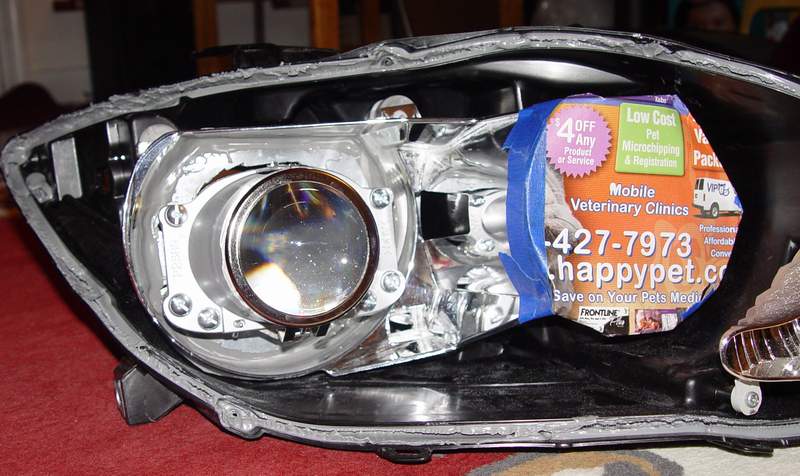
test mounting the projector
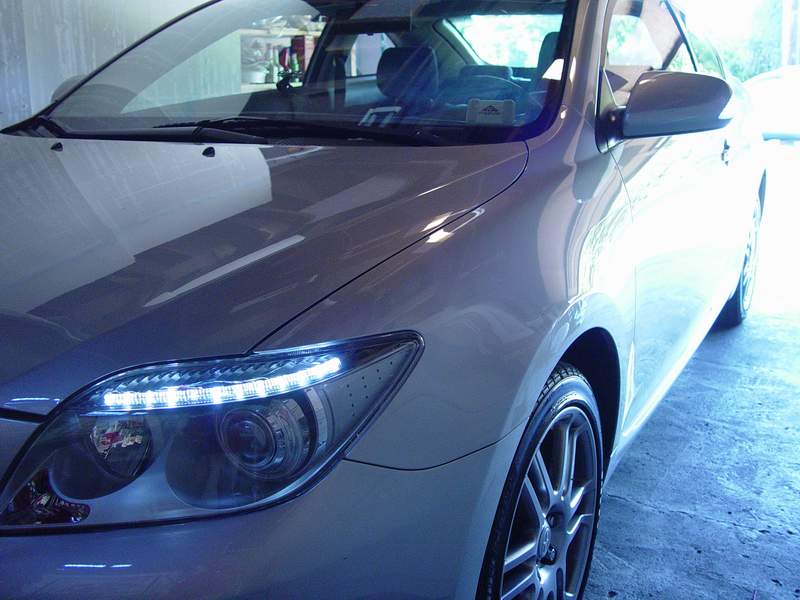
LED eyebrow
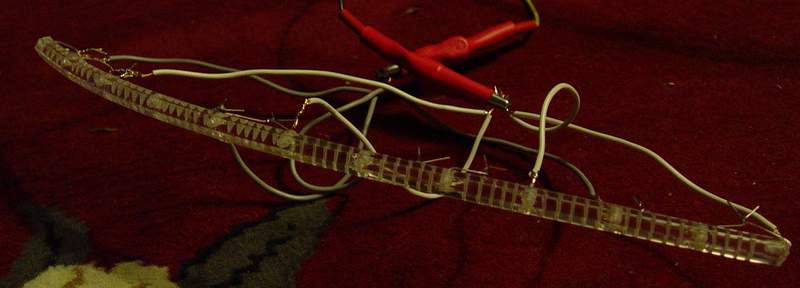
leds off
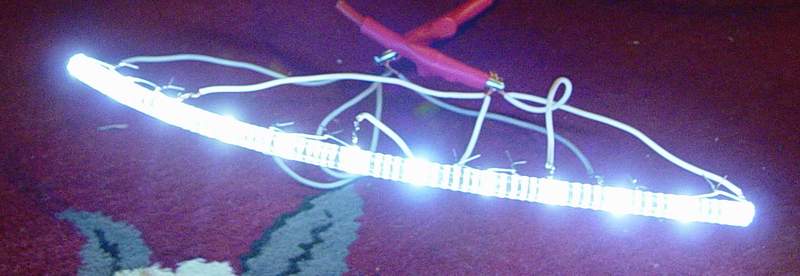
leds on.

the eyebrows will be used for turn signal.

almost finished with the other one. need to clean up the wiring.
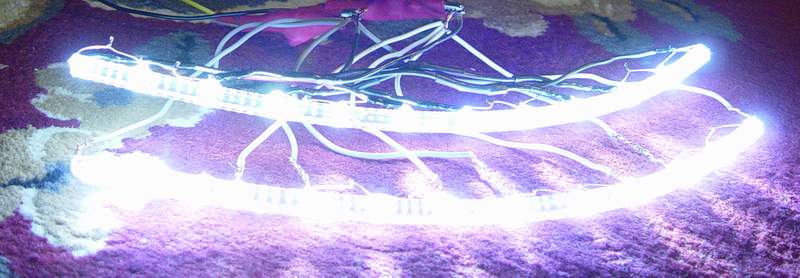
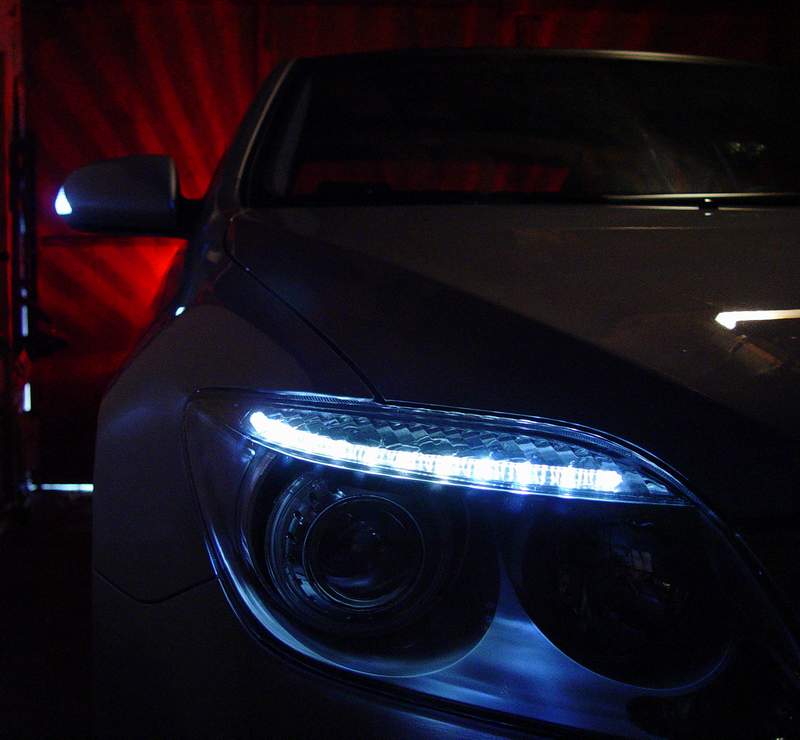
pretty bright. i think its bright enough for turn signals
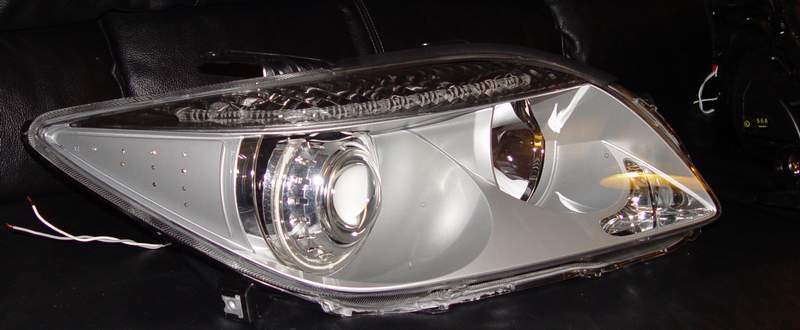
LED sidemarker

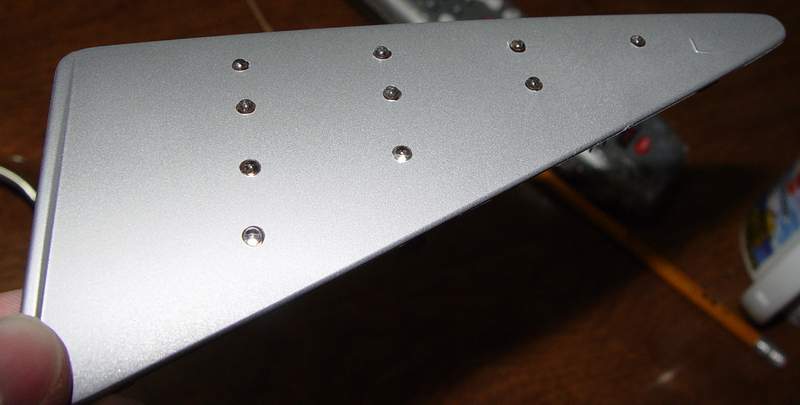
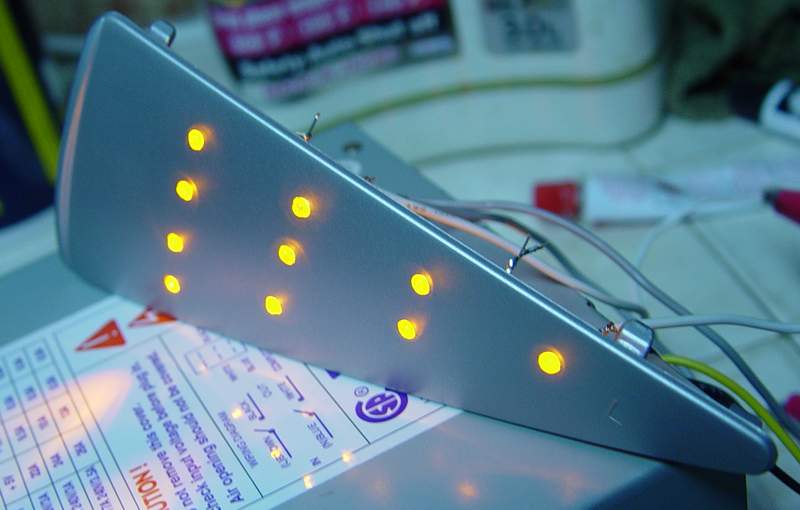
i used 10 3000 mcd yellow leds on each side.
Remove headlight
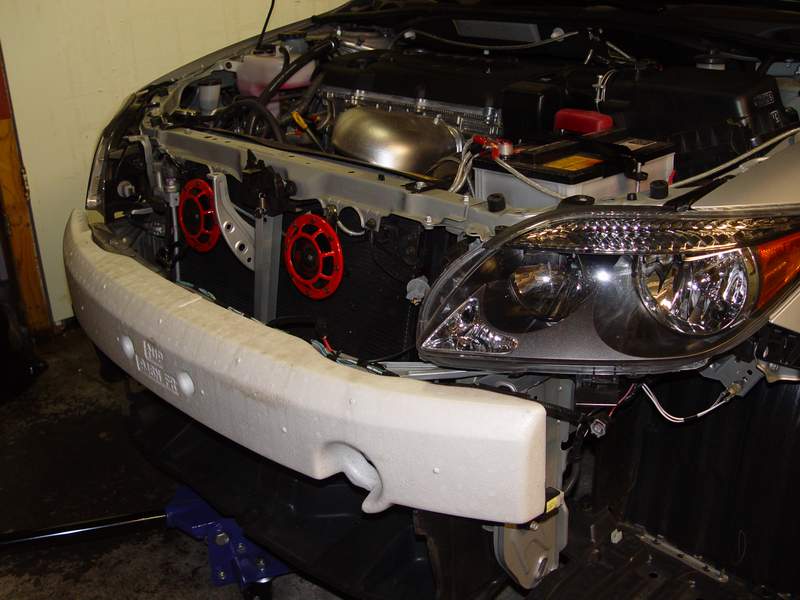
start by removing bumper, there's a tech article if you don't know how to do that
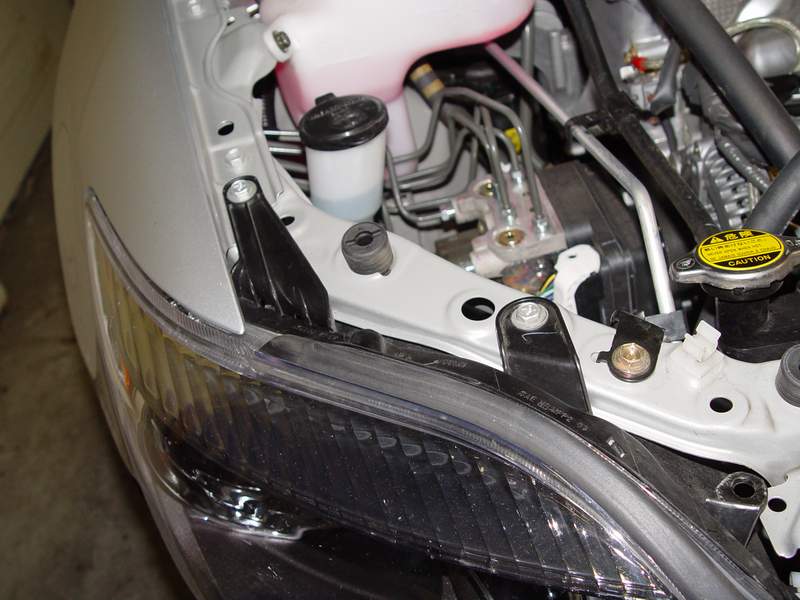
take these 2 bolts off

one more on the side, then unclip a plastic piece on the bottle and the headlight comes off
Mounting
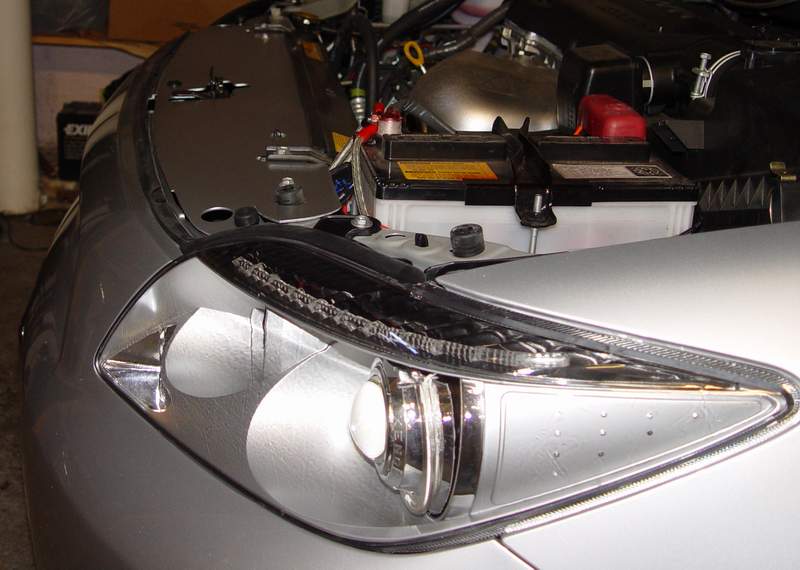
projector mounted and aimed, then removed again because i still have to fit the front piece back on
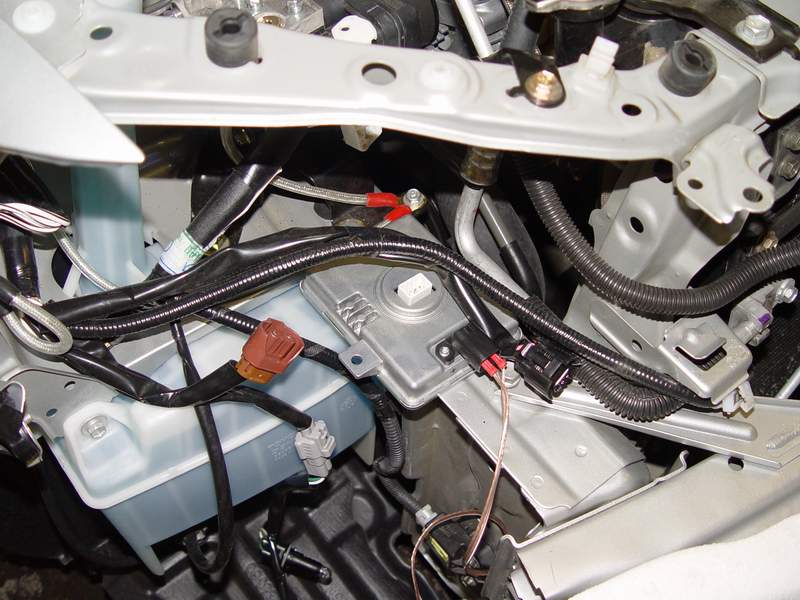
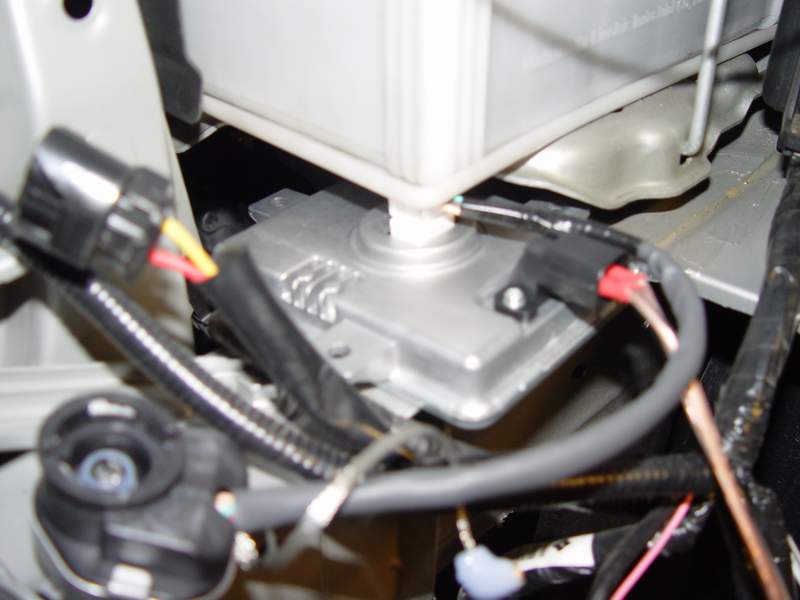
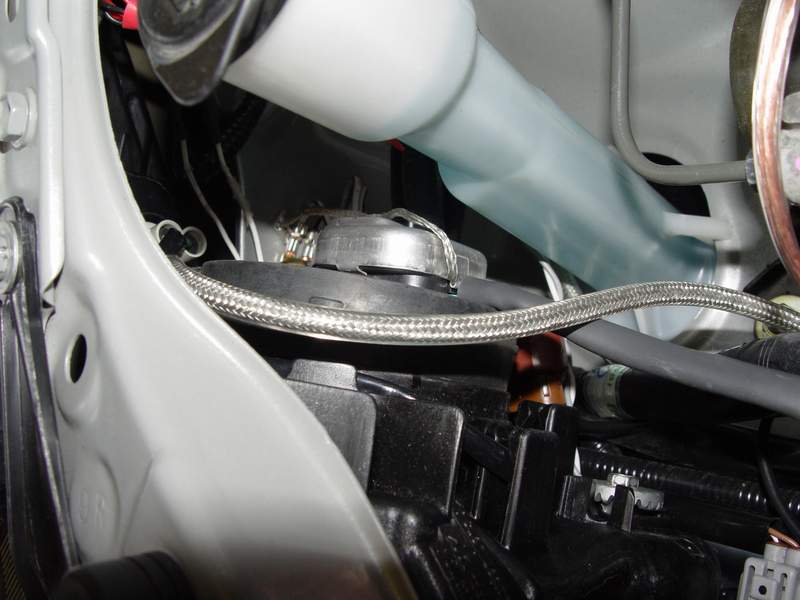
this is where i plan to mount the ballast on the passenger side
driver side, might be hard to get to when the headlights back on. i have to rethink this side
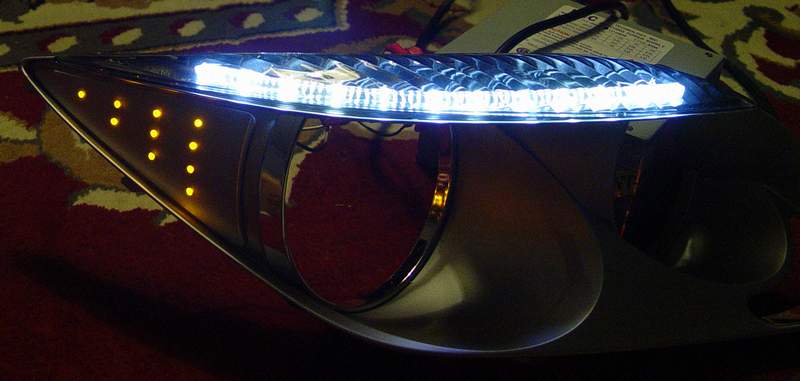
here's a pic of the side marker and eyebrow blinker on
Re-assembled headlights
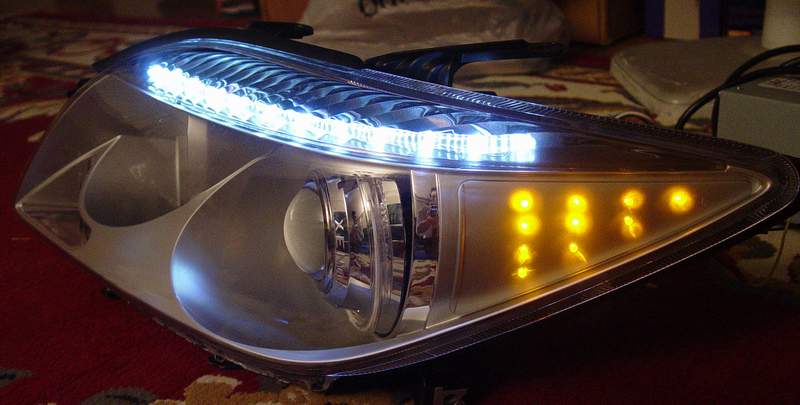
Retrofit - DONE-
finally finished. I'll post picture of them on the car tomorrow. this project took up too much of my time but its definately worth it. As you can see, I ended up using the E46 shroud. I think overall the project came out pretty good. I'm happy, but the wife is not because I spent so much time on it. Now after a long time of slacking and a few nights of rush, its finally done, and right on time to enter the August tech article contest.

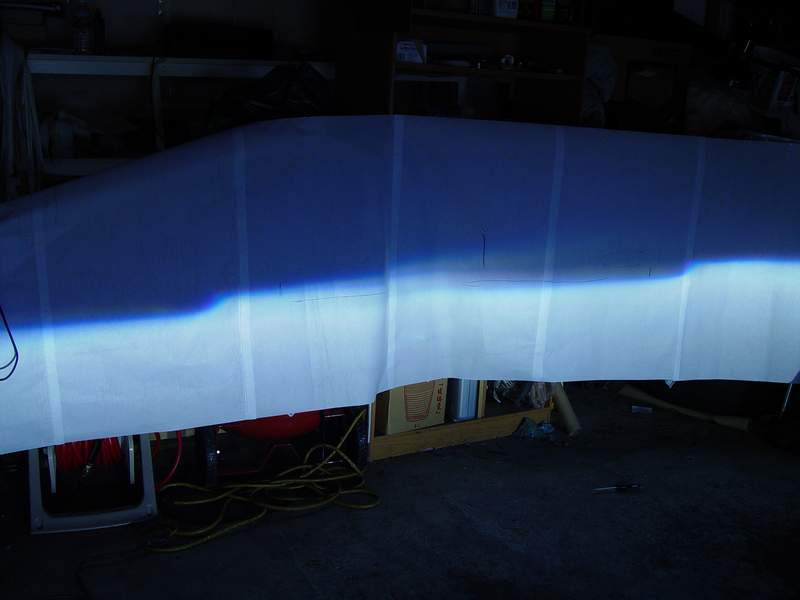
here's a cutoff picture from when i was aiming the projectors. the output is not that blue in person since i used 4100k phillips bulbs. I didn't adjust the camera and just took a quick picture. the cutoff, on the otherhand, was full of blue from modding the tsx projectors with 3 washers.
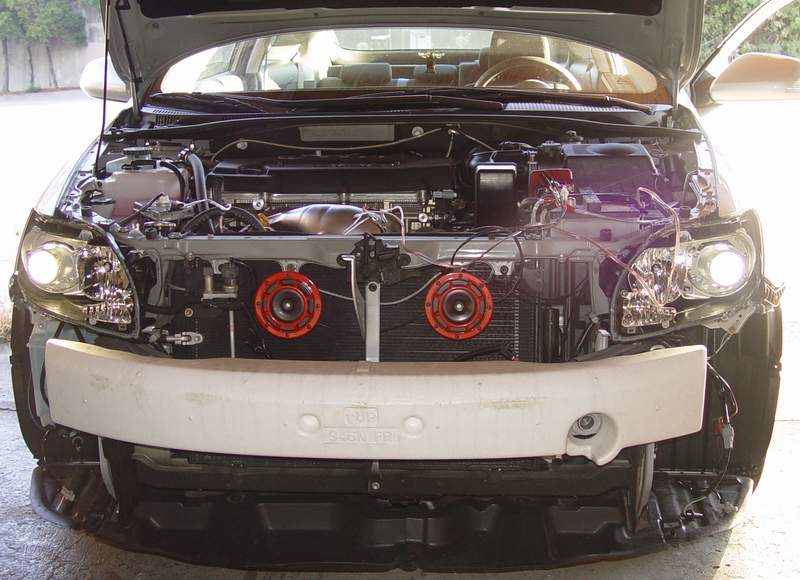
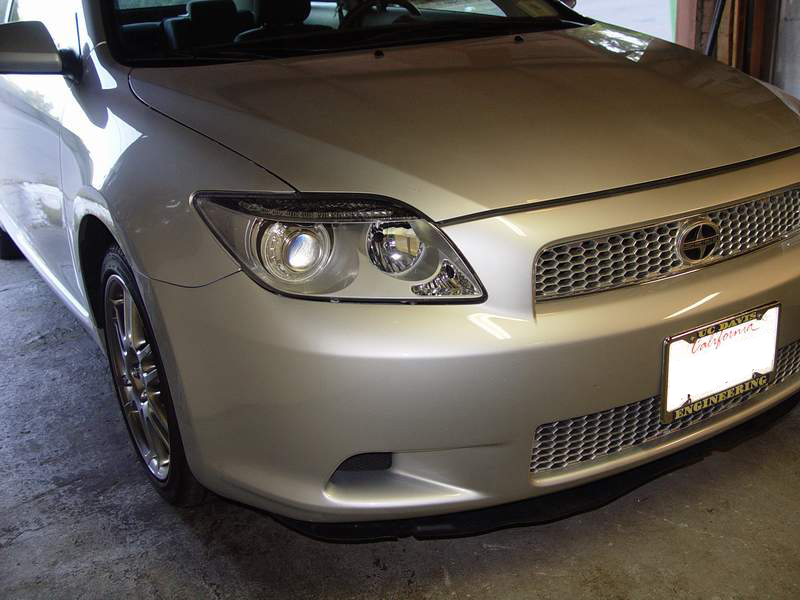
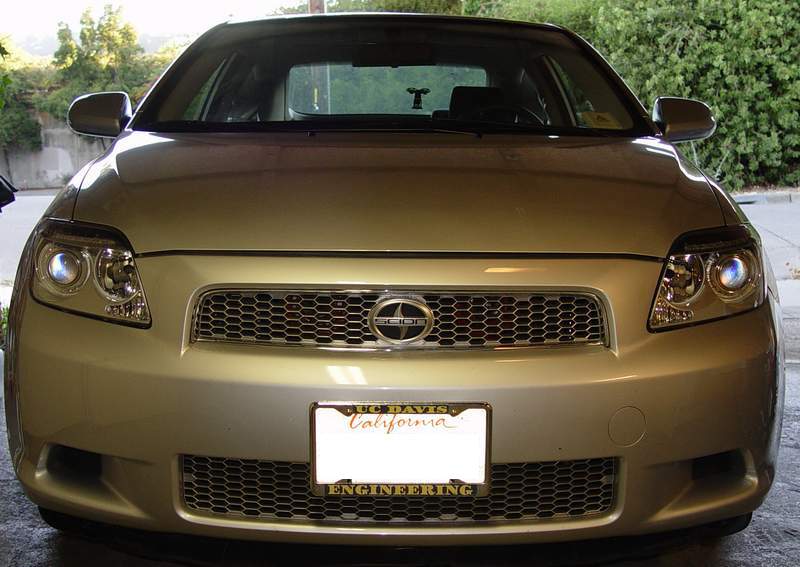
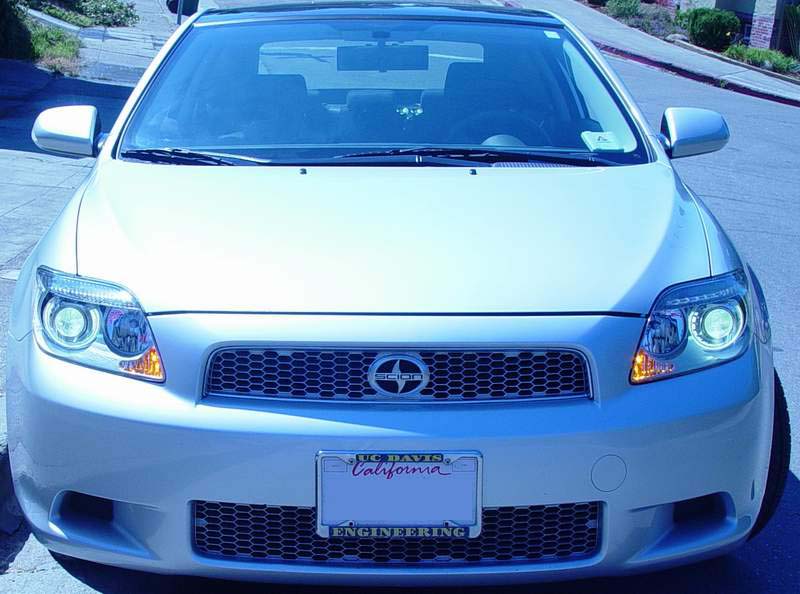
daytime pic, everything off
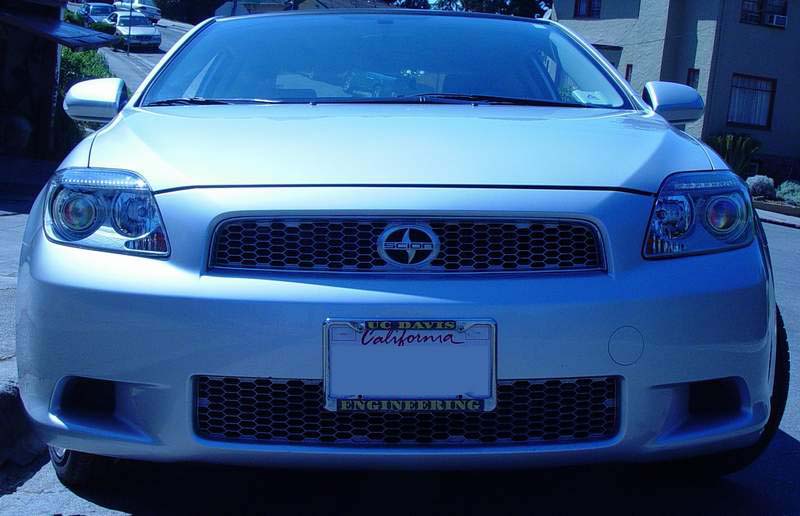
parking lights on
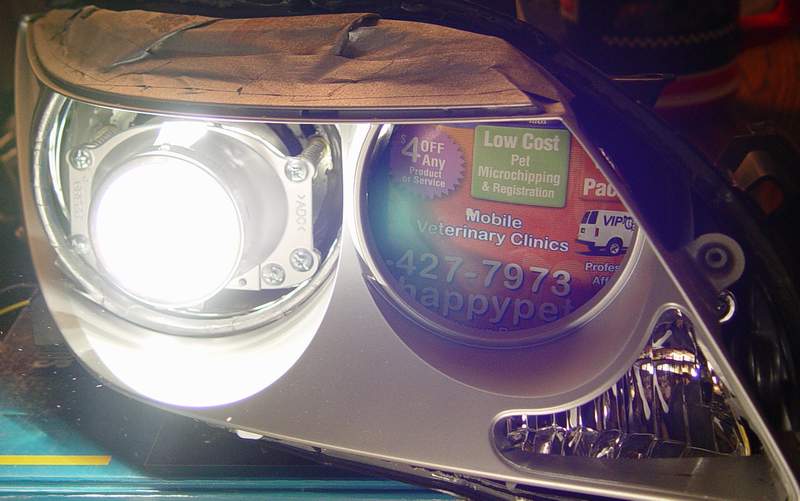
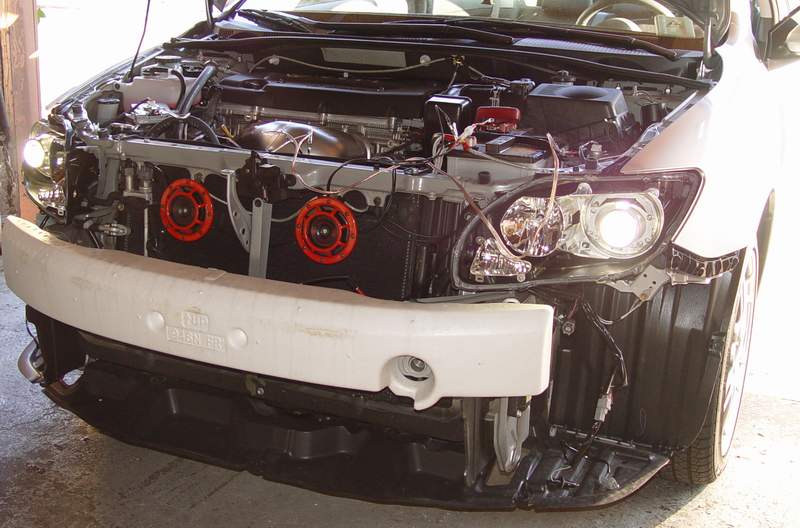
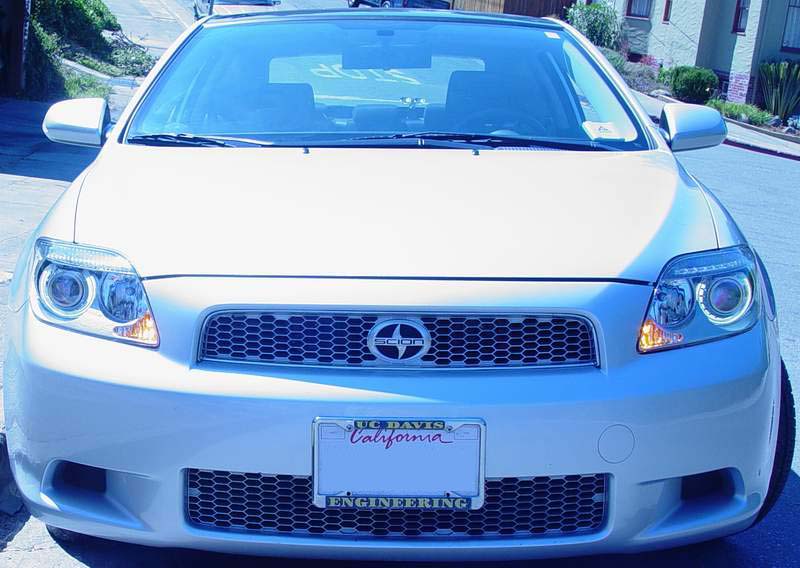
HID on

eye brow signals. i changed the color on the mirror signal too, might as well.
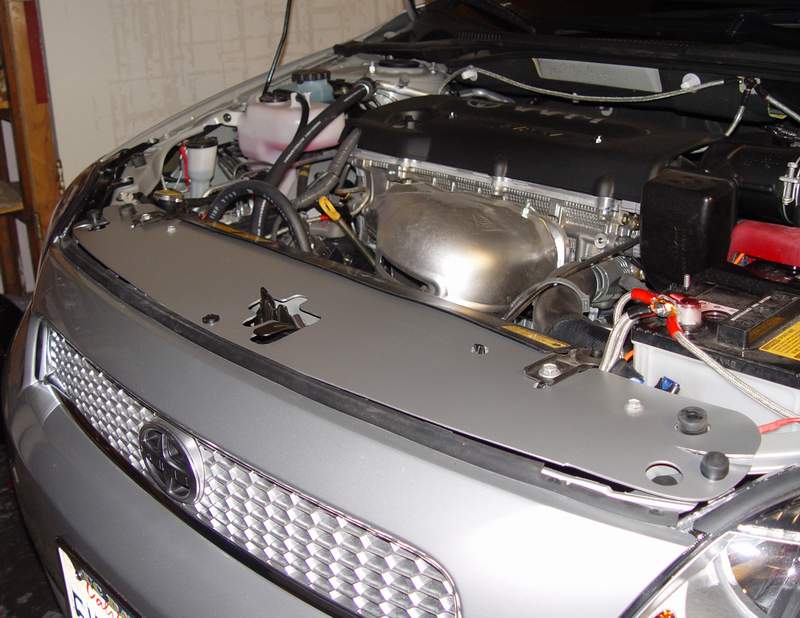
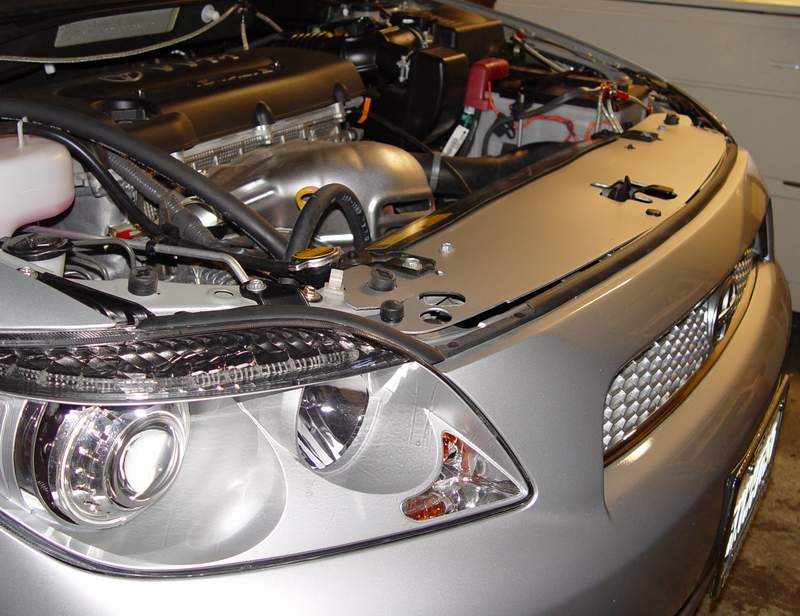
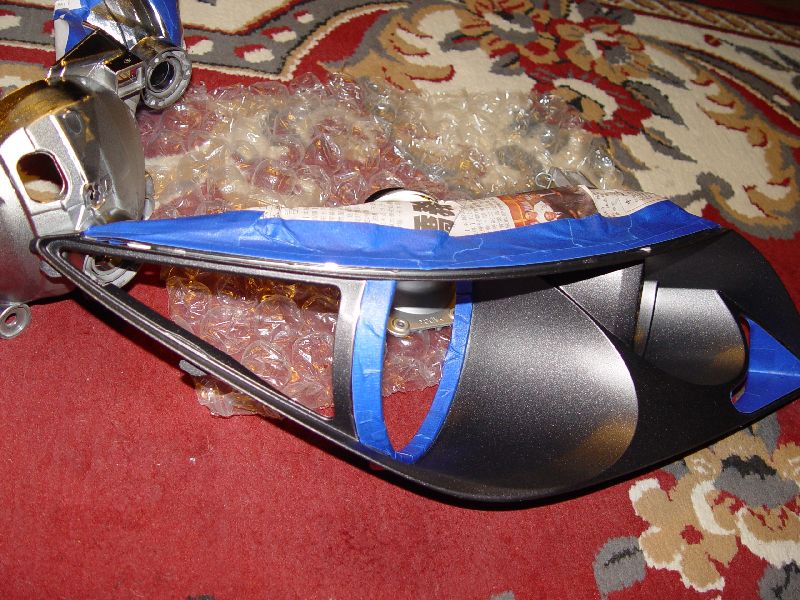
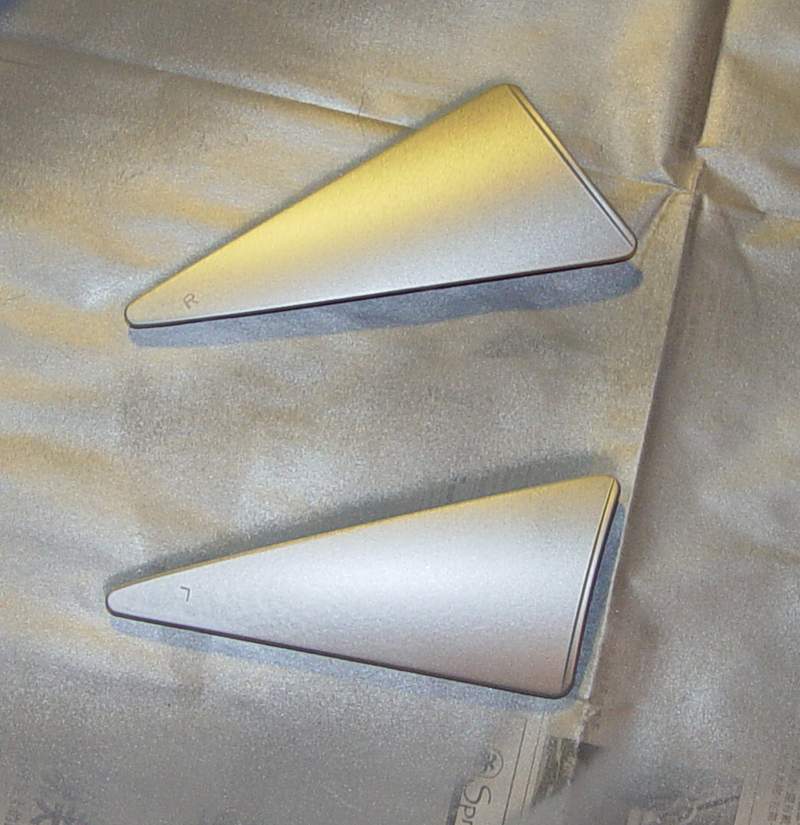
Doc Isotopes air diversion panel, painted silver to match the headlights.
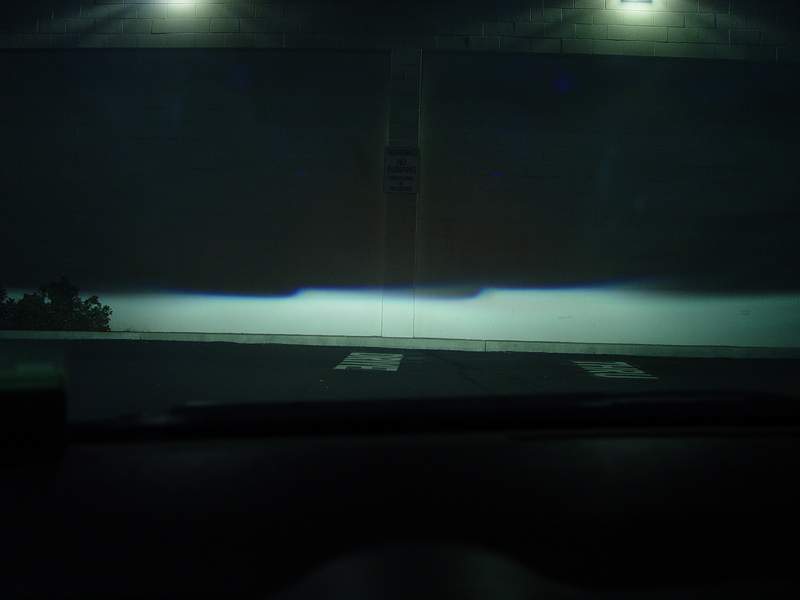
a night shot from the driver seat
Capping the back
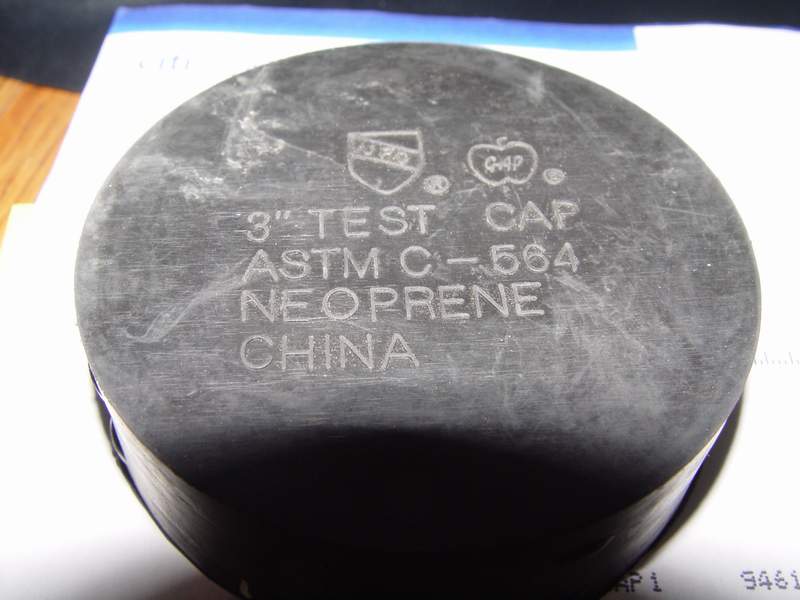
a 3" pipe cap from ACE hardware
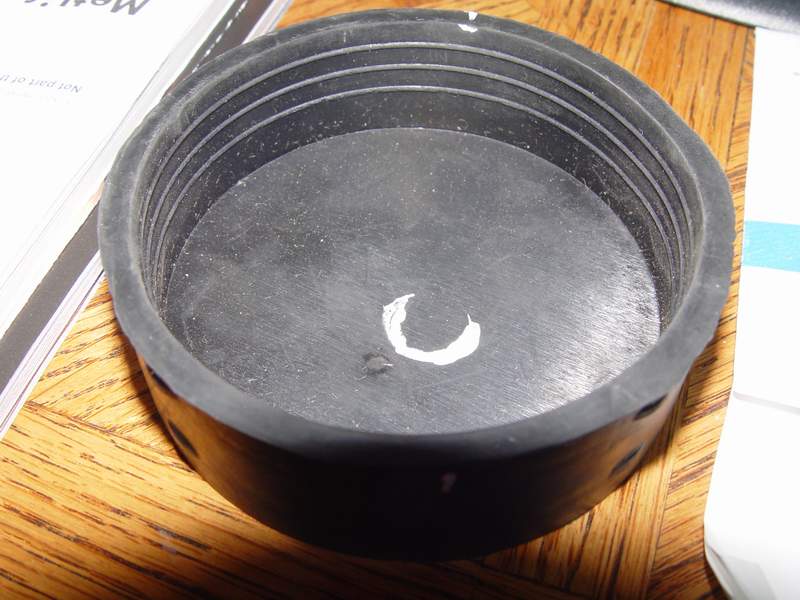
marked the where the bulb is
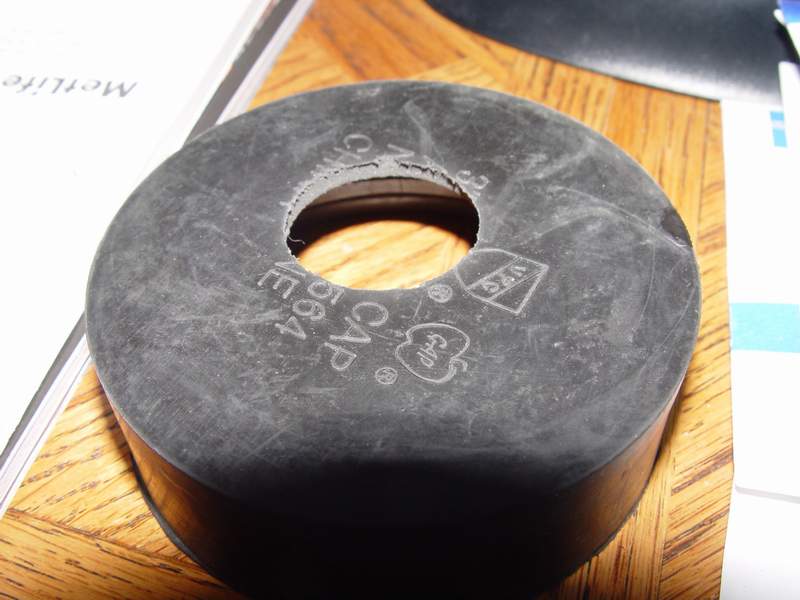
here i drilled a 1-1/4" hole
...like a glove...
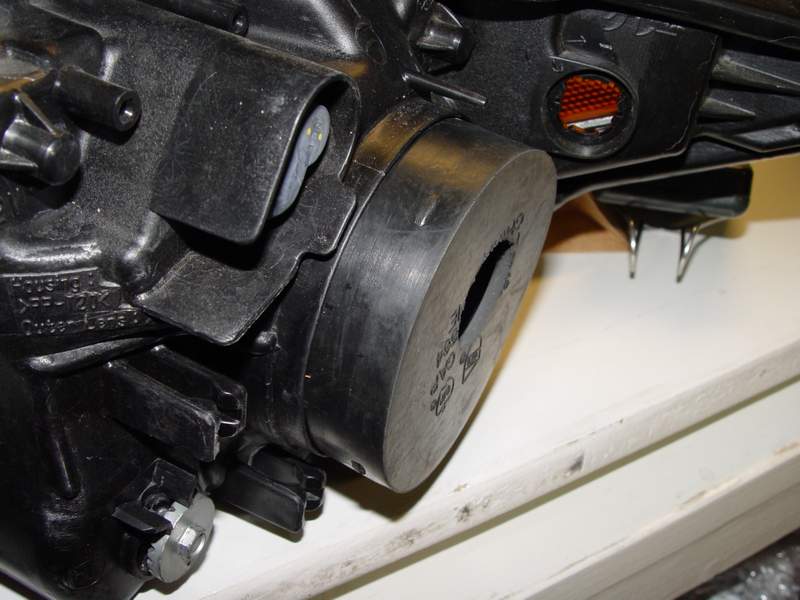
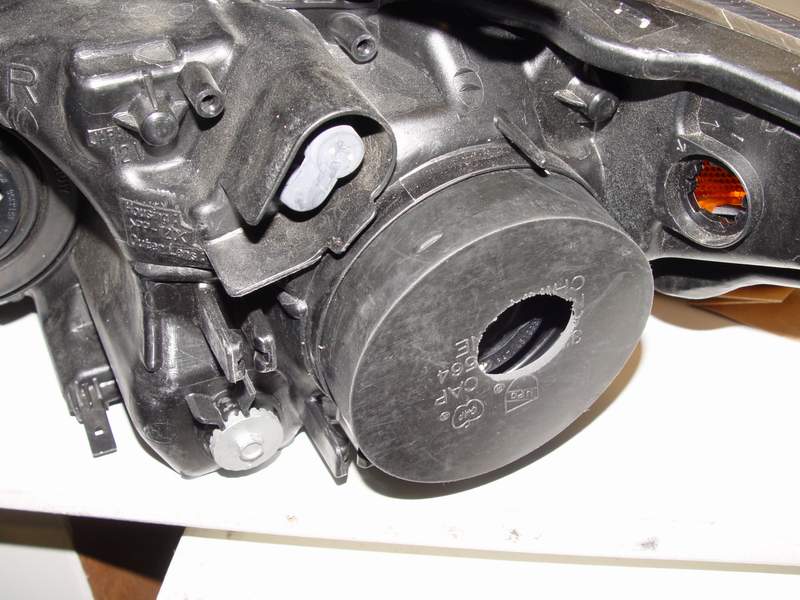
and here it is on the car...i'll wash the car this weekend...likes like it should seal pretty well since it fits in there pretty snug.
THAT'S ALL FOLKS! THANKS FOR LOOKING!
#1
Где-то я уже это видел...
#2
Это я перенес в самостоятельную тему.
#3
Так, действительно, лучше!")
Зато теперь у меня три записи в блоге про установку ксенона, хотя я ксенон ставить не собираюсь
#4
Мишань, а у тя что родной свет стоит? Как нить улучшал??типа лампочки ++30??? Как светит??
#5
Не в тему но все же: как раз через годик собирасля менять свой (жены) Scion xA на tC. Машинка бросская.
#6
У меня все штатное
#7
тынц - а вот конкретно фанатеют на эту тему маздаводы.
#8
Ужасть